Monday, April 28, 2014

Project Life with Sin City Stamps!

Hey there!  It’s RobinRedd (a.k.a. RockinReddRobin)!   

I’m here to share with you a Project Life layout I made this week using Sin City Stamps 
and Ecstasy Crafts, whom we are teaming up with this month.   

I enjoy Project Life, however, 
I will probably just finish the year I started working with it, 2013 and that’s pretty much it.   
I’m so far behind with that year.   
I have plenty of Project Life layouts that still need to be completed.
I love this little peacock feather stamp from the Wildlife stamp set.  
 I stamped it with one color, then added color to the center top portion with markers.
And who doesn’t love Pearl Dot Embellishments!   I used the
Decorative Pearls Dark Red from Ecstasy Crafts.
 So simple to add to any project and makes such an impression.
Speaking of impressions....keep in mind you can use embossing folders in your Project Life layout.  So quick and simple and makes a very unique card on your layout.  I used the Flower Border 1 embossing folder from Ecstasy Crafts. Since the cardstock had a white core, I sanded over the embossing to make the image “pop” more.  I love the results.

I hope I’ve inspired you to create something today.

Until next time…

Friday, April 25, 2014

Sin City Stamps Stencil Layout


Hello Peggy here to show you how I used Sin City Stamps Stencils to create this 12x12 layout. 
My daughter loves Marilyn Monroe I decided to make her a layout honoring her favorite icon. 

List of items used today are: 


I started with my stenciling on designer paper that had a few flowers to begin with. 
I used Gelatos and Pan Pastels to color my stencil


After coloring I fussy cut the roses out. I pasted them to my second designer Paper.

 I added background stamps as well as molding paste for texture

 I placed my pictures and glued everything down.
I hope you enjoyed todays stencil layout. You can find stencils , stamps and more at Sin City Stamps Store.

Have a Great Weekend
Peggy Oliver, My Stamping Obsession

Wednesday, April 23, 2014

Mixed Media - Sin City Stamps - Design Team - NO MORE WHINING


Hello All - Sin City Stamps Friends.


We just returned from a mini vacation to Lancaster PA. & Hersey Park.

In one of the store I saw this cute handmade sign.
As soon as I saw that finger - I was like… What that's a great Design Team blog theme - and I can totally make this.. 

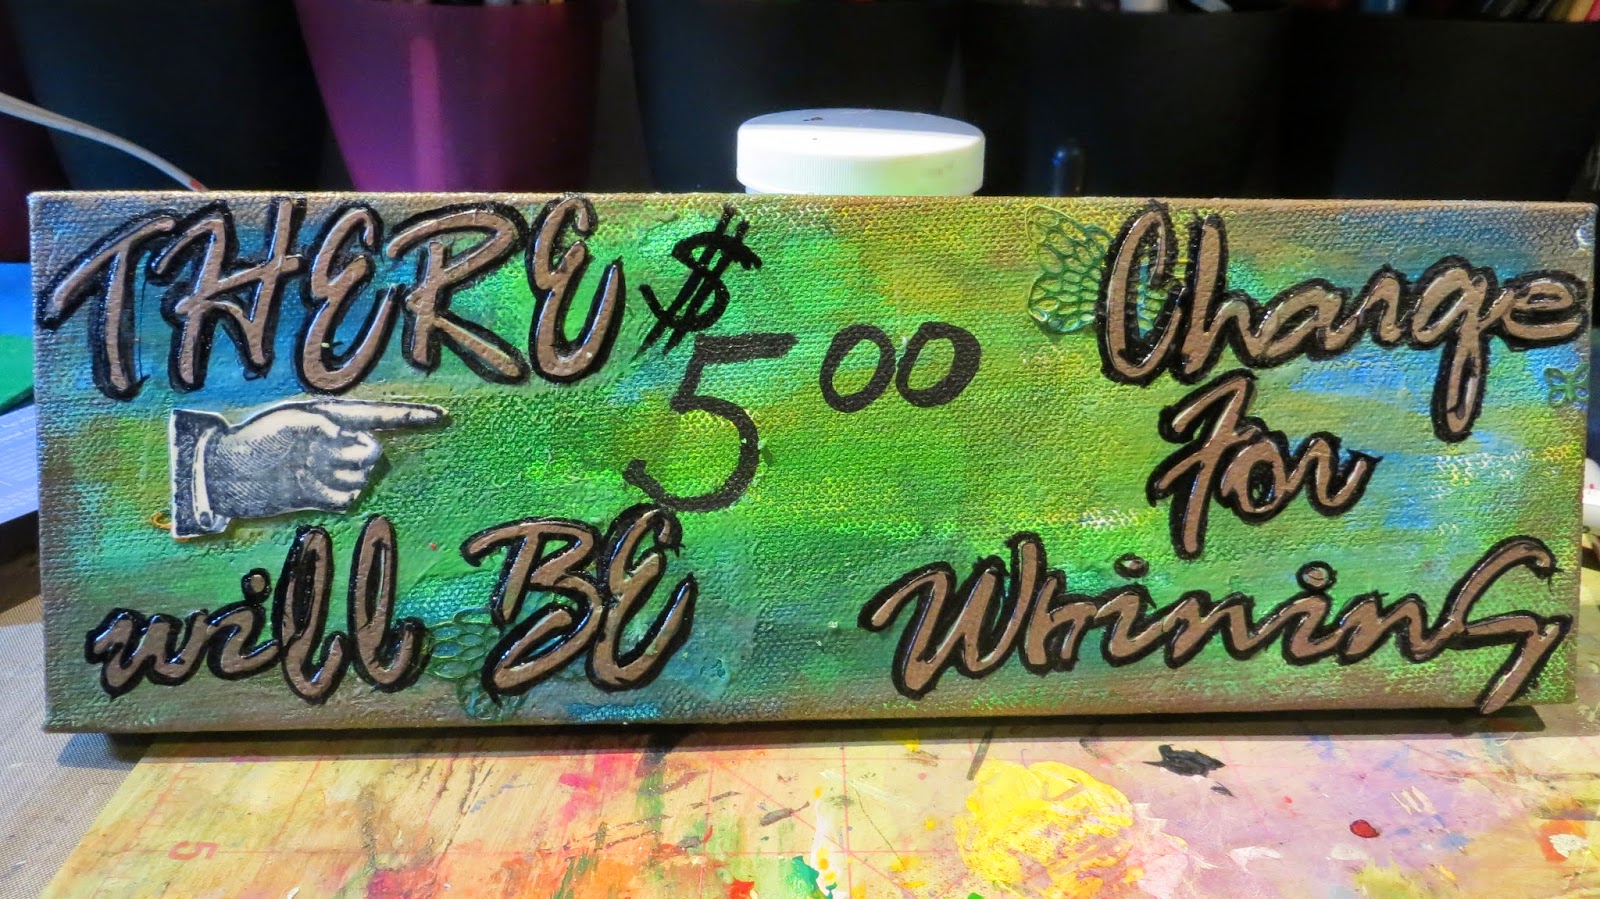
So here's my take at it… I finished and put it up on my Facebook page - and sold 2 of them…  Next group I make will be a little different - but I just love out his one came out.


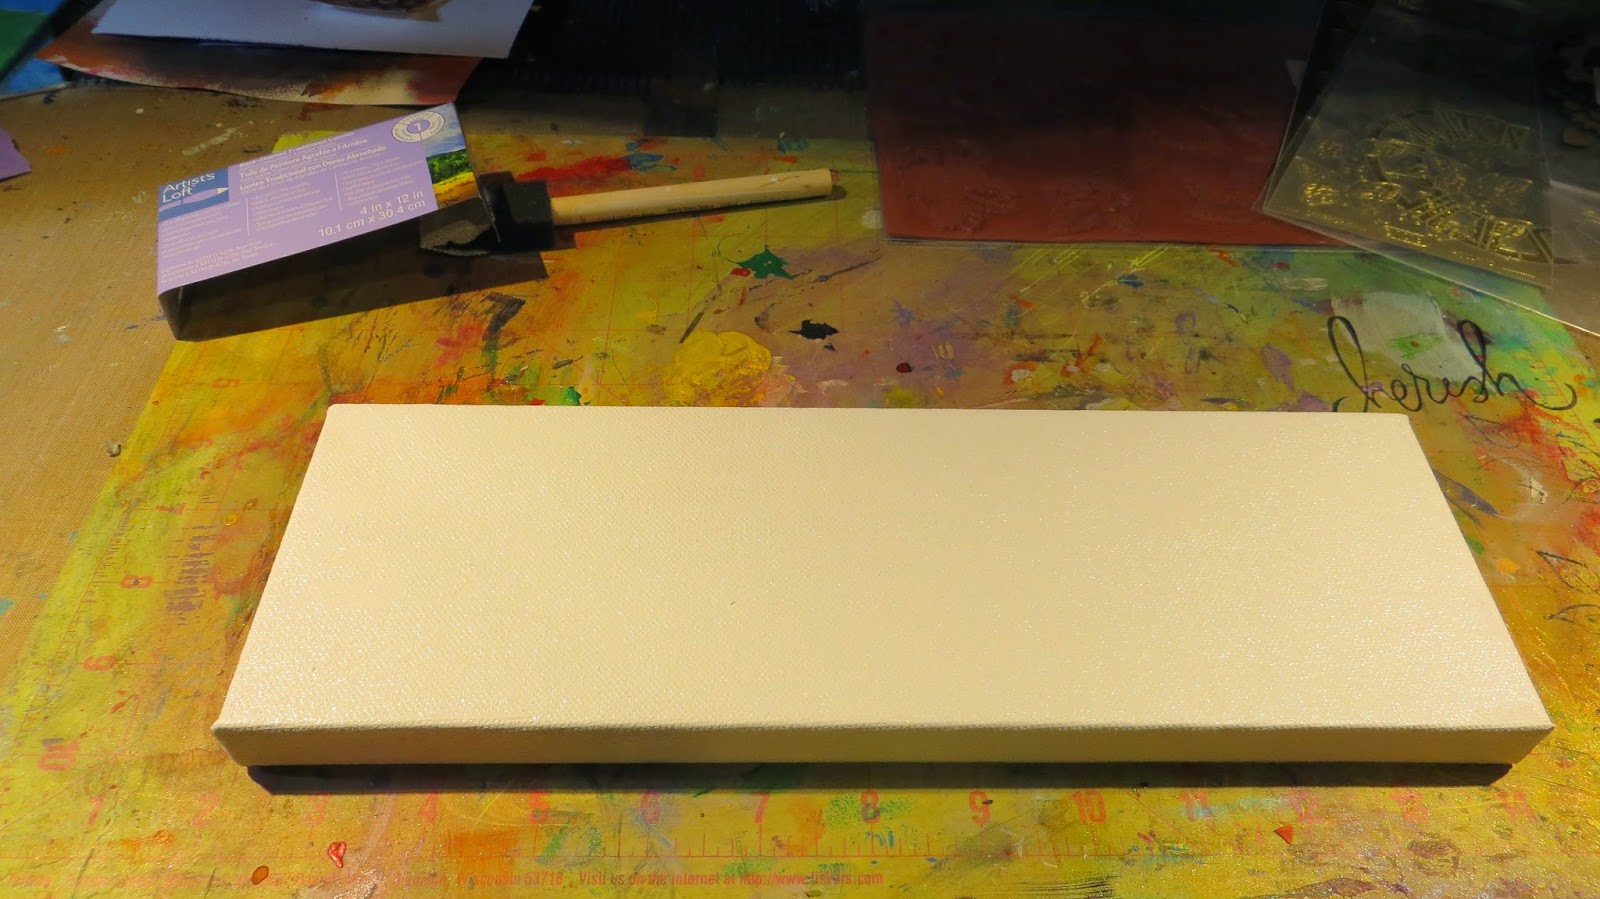
I started out with a 4x12 Canvas from Michaels


Then started to play with my fingers… Adding different colors of Daler Rowing & Liquitex Liquid Paints (See list below for the different colors used)


I then pulled out my Sin City Stamp - Stencil - Clock Stencil

I used some Glitter Mist sprays (silver) and sprayed it around the canvas.


For the Month of April we are working with EC Crafts  they supplied us with these Gold Stickers.


Being that I'm not a fan of Gold - but that these stickers are so pretty - I pulled out my White Gesso


Once that was almost dry - I put drops of Adirondack Inks  using my finger to spread them and play with the colors.


I got it to the colors I like and let it dry.. You want to use a hot blower - but don't...


Jut pull them off - you might need to pull out some of the detail little pieces - I just used a scissor and they came out no problem.

I then added those on the canvas and then used Gel Medium to glue it down.


Pulled out the black ink and my favorite Sin City Finger Stamp


I then pulled out a bag of brown letter I have had since (NO IDEA HOW LONG) i've had them.
I used Gel Medium and just stuck them down.


Below is what it looks like once they are all mounted down.


I added the hand written $5.00 ...


I started using my sharpie pen to outline the letters.  but half way through it I didn't like how it was looking so I pulled out some back acrylic paint and a thin paint brush and started working around them.


The below photo shows the difference in just the pen and the paint brush.

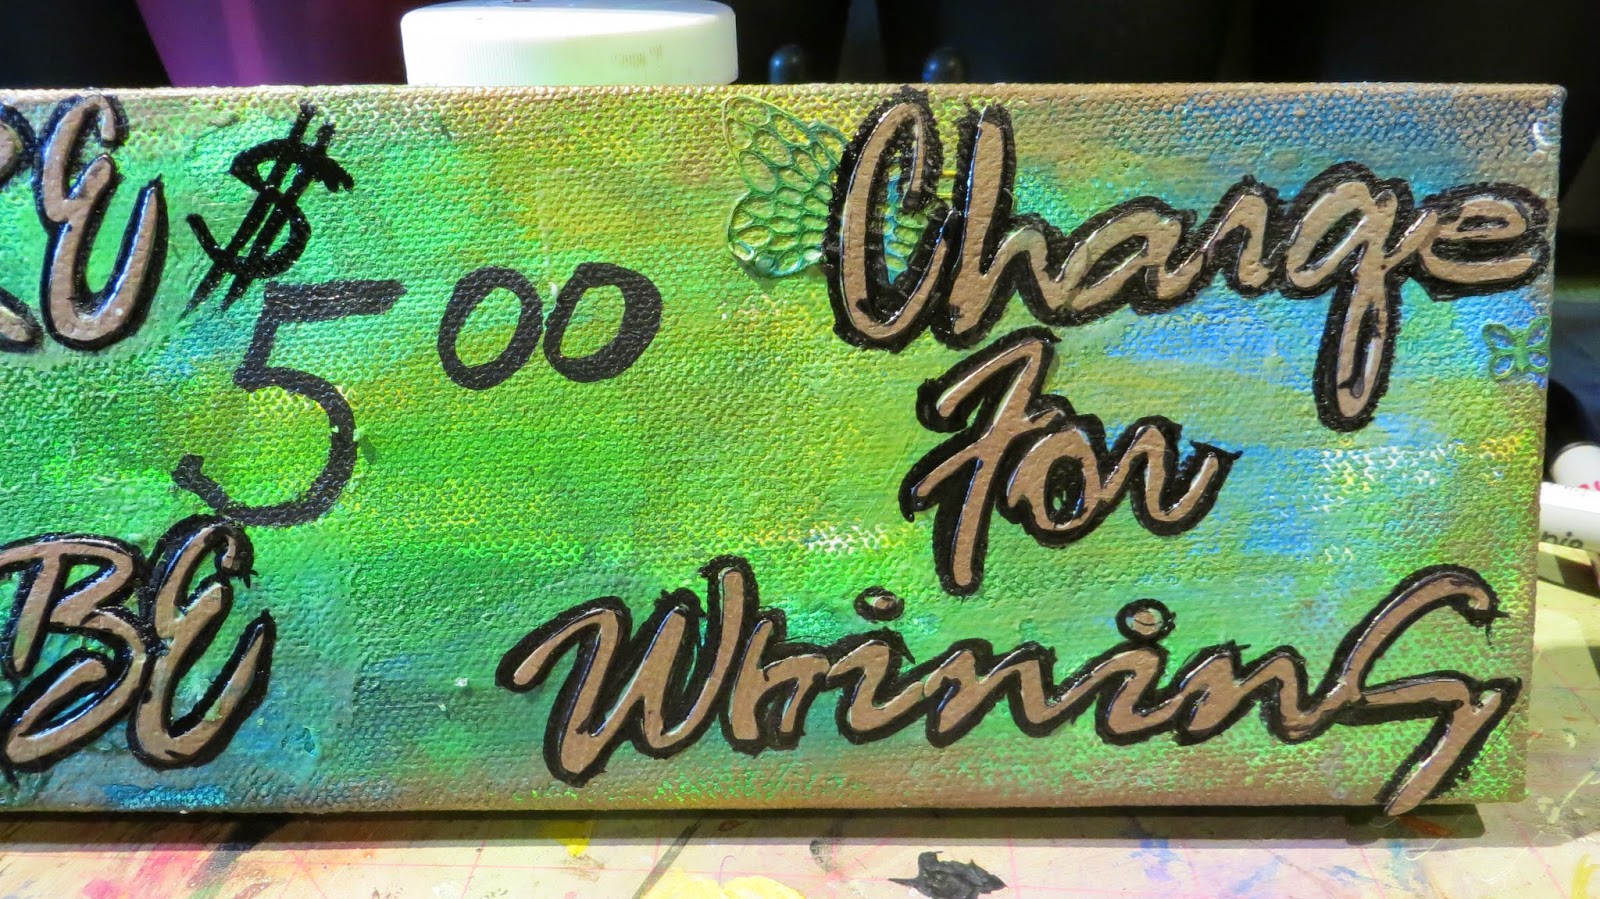
Some close ups:


List of supplies:

Canvas 4x12x1 by Michaels
Gesso
Liquitex - Yellow Oxide, Vivid Lime Green
Daler Rowing - Macaw Green, Marine Blue and Galactic Blue

Inks:
Adrondack Ink - Stream & butter scotch

Sin City Stamps:

EC Ecstasy Crafts, Inc.
Deco Stickers - Butterflys

I hope you enjoyed.  You can find me here

Thursday, April 17, 2014

A Natural Beauty Card

Hello everyone, Barbara here again with my second post for April.  As mentioned before, we are cross-promoting with Ecstasy Crafts.  They sell tons of fabulous products that you just don't see anywhere else.  The best part is that they blend so well with Sin City Stamps products to inspire your creativity.


When I received the Natural Beauty stamp plate from Sin City Stamps, I could hardly wait to use it.  It has the most beautiful images of ladies and botanicals.  I was just waiting for the perfect product pairing to use it.  I think I found it.  So I made this card for today's project.


Supplies used:

Sin City Stamps:  Natural Beauty; Bingo

Ecstasy Crafts:  Ornare Vellum Embossing/Piercing Template-stars (PR0565); Starform 7034 Deco Sticker - Wavy Borders

Pre-printed 4-1/2" x 6-1/4" card (Gartner Studios)

90 grit gold glass glitter, gold microbeads

Vintage Photo, Old Paper distress inks

Memories black ink

Copic markers


Directions:


Trim ivory card stock to  4-1/2" x 6".  Center metal piercing template over card stock and tape down with a piece of washi tape to prevent it from moving.

Turn card stock over, place on top of a light source, and emboss around the edges and the inside frame area with an embossing tool.  (TIP:  Rub a piece of wax paper over the card stock to help the tool slide easier.)

Here is what it should look like after embossing through the template.
Remove stencil and realign with the embossing on the back of the card stock.  Place onto a piece of fun foam or mouse pad and pierce as much or as little of the piercing holes as you wish.  I pierced two scallop rows around the edge.

Remove stencil and turn card stock over to reveal your lovely embossing and piercing.

Stamp "Natural Beauty" and face image onto card. (TIP:  Use a stamp positioner to ensure accuracy).

Color face image, then trim and ink edges with Old Paper distress ink to give it that vintage feel.

Adhere to card base.  Add a border of pink Starform 7034 Deco Sticker - Wavy Borders.

Stamp several flowers and leaves from the Natural Beauty stamp plate onto scraps of the same ivory  card stock using Memories black ink and color with Copic markers.
Fussy cut images, add gold glass glitter to center of rose, and gold micro beads to centers of orange flowers.

Arrange on front of card with pop dots and adhesive.  Here are a few close-ups to show the dimension.


Finish of the inside with this beautiful sentiment from the Bingo stamp plate using black Memento ink. This is one of my favorite sayings and I think it goes so well with the Natural Beauty images.  
Thanks so much for stopping by.  Please be sure to visit Sin City Stamps for your stamping, chipboard and stencil needs, and Ecstasy Crafts for their selection of paper crafting tools, stickers, and embellishments.  

Have a wonderful, crafty weekend!  

Barbara

Copyright Text

Blank Page Muse 2018 Sin City Stamps 2013