I love the Blank Page Muse digital Christmas Papers. For those who like to give your gift wrapping a personal touch handmade gift tags are perfect. They can be used to decorate packages or gift bags. I like to have them made ahead of time, so they are ready to attach as I am gift wrapping. Today I have eleven tags made with the Frosty Night Christmas Printable Papers and the Vintage Gingerbread Christmas Printable Papers.

.jpg)
Vintage Gingerbread Christmas Printable Papers (Candy Cane Paper)
Fancy Flourish Stencil


Other supplies
Ribbons
Lace
Gems
Astro Paste Tropical Tango
TCW Butter Paste Champagne Gold
Spatula
Wide tip Gold Sharpie
Crop-o-dile
Corner Chomper
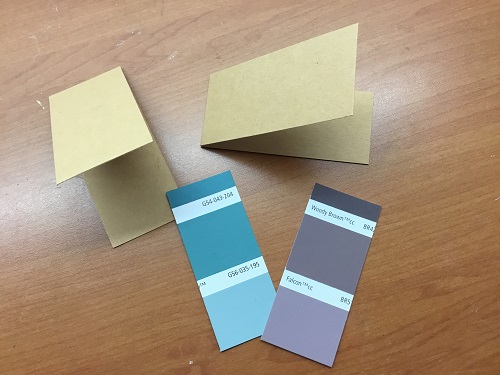
I gathered items to use on my tags, ribbons, lace, gems, and paste that coordinated with the papers.

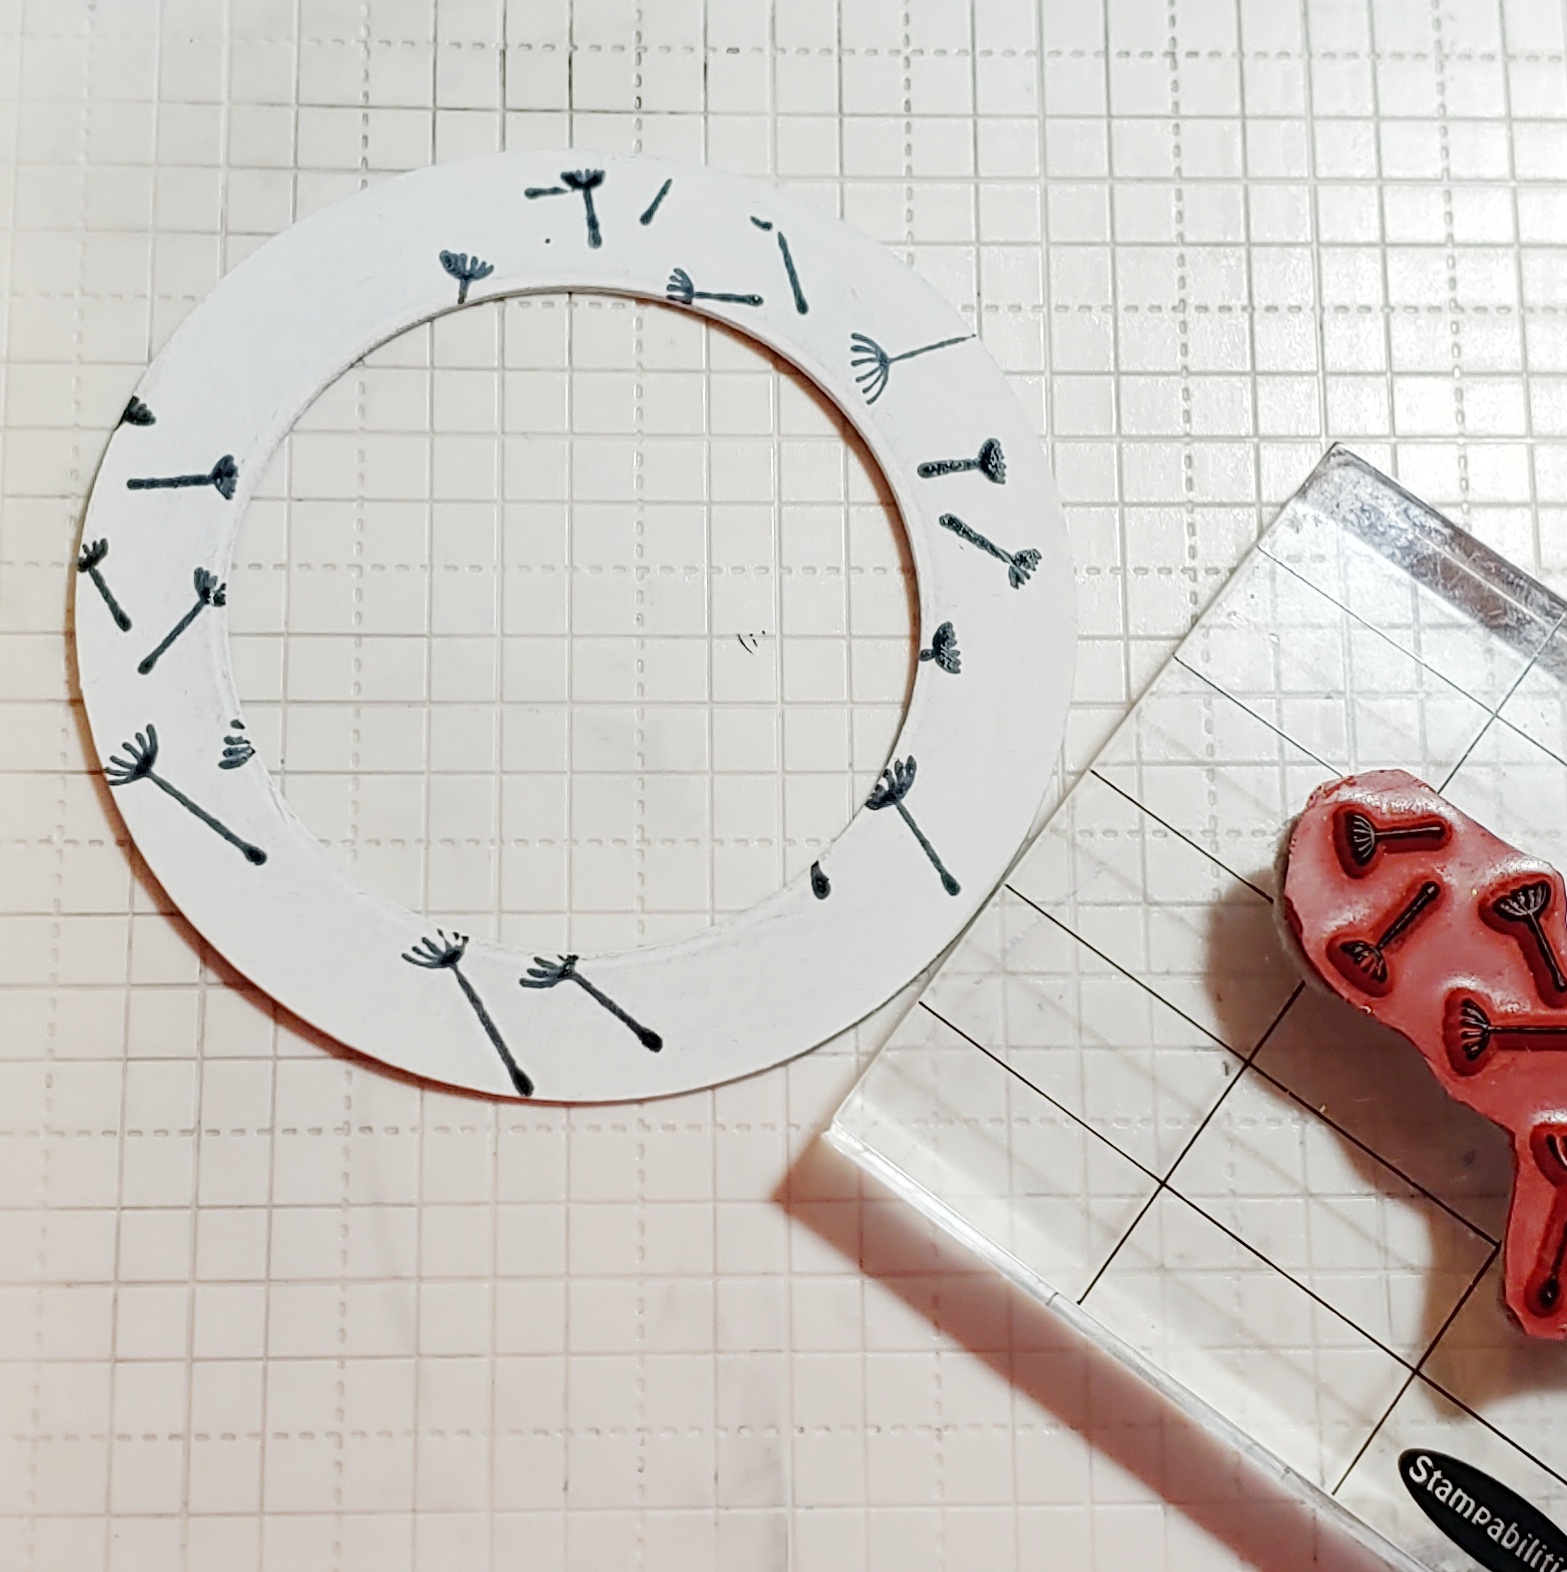
I first cut the papers the size of tags I desired, as you will see none of the tags are the same size. The smaller tags were part of the paper collection and in the shape of a tag. The others are all pieces of the digital papers cut to size. I used the Corner Chomper to round the edges at the top of the tag and the Crop-o-dile to punch a hole in each tag.


.jpg)
.jpg)
.jpg)
.jpg)


.jpg)