Showing posts with label romance classic couples line art. Show all posts

Wednesday, January 23, 2019

Vintage Meets Modern Valentine's Card


 Hi everyone! Charlotte here, and today I have a Valentine's Card to share with you. With this card I combined vintage and modern using an image with a vintage feel along with a more modern and graphic background design. 

Blank Page Muse products used:

Other materials:
White card base
Scrap paper and repositionable adhesive, or masking paper
Stamp platform and/or stamping blocks
Small brayer
Black ink
Two shades of teal ink
Alcohol markers or other coloring medium of your choice
Scissors
Paper cutter with scoring blade, or other scoring tool of your choice

Instructions:
Begin by positioning the image stamp in your stamping platform. When I'm stamping directly onto my card base I like to stamp first onto a piece of acetate laid over it, so that I can be sure the position is correct before committing to stamping on the card.

Use black ink, ensuring it is safe for use with your chosen coloring medium, stamp the image onto the card base. When using a particularly large or intricate stamp it can be helpful to run a brayer over it to ensure that it stamps evenly and no areas are missed.
Stamp the image again, this time onto a piece of scrap paper or masking paper. Fussy cut the image out. If you are using scrap paper, apply a repositionable adhesive to the back to create a mask. 
Position the mask over the image on the card base. The mask will allow us to add further stamping around the image without getting any of it on the image itself. Masking is a great technique when making one layer cards like this one.
Using the "forever" sentiment from the Romance Classic Couple set, stamp repeatedly across the card base with a medium shade of teal ink. Continue until the card base is covered. For extra interest, use the small "forever" sentiment from Inhale... Exhale with a lighter teal ink in a few random places between the larger words.
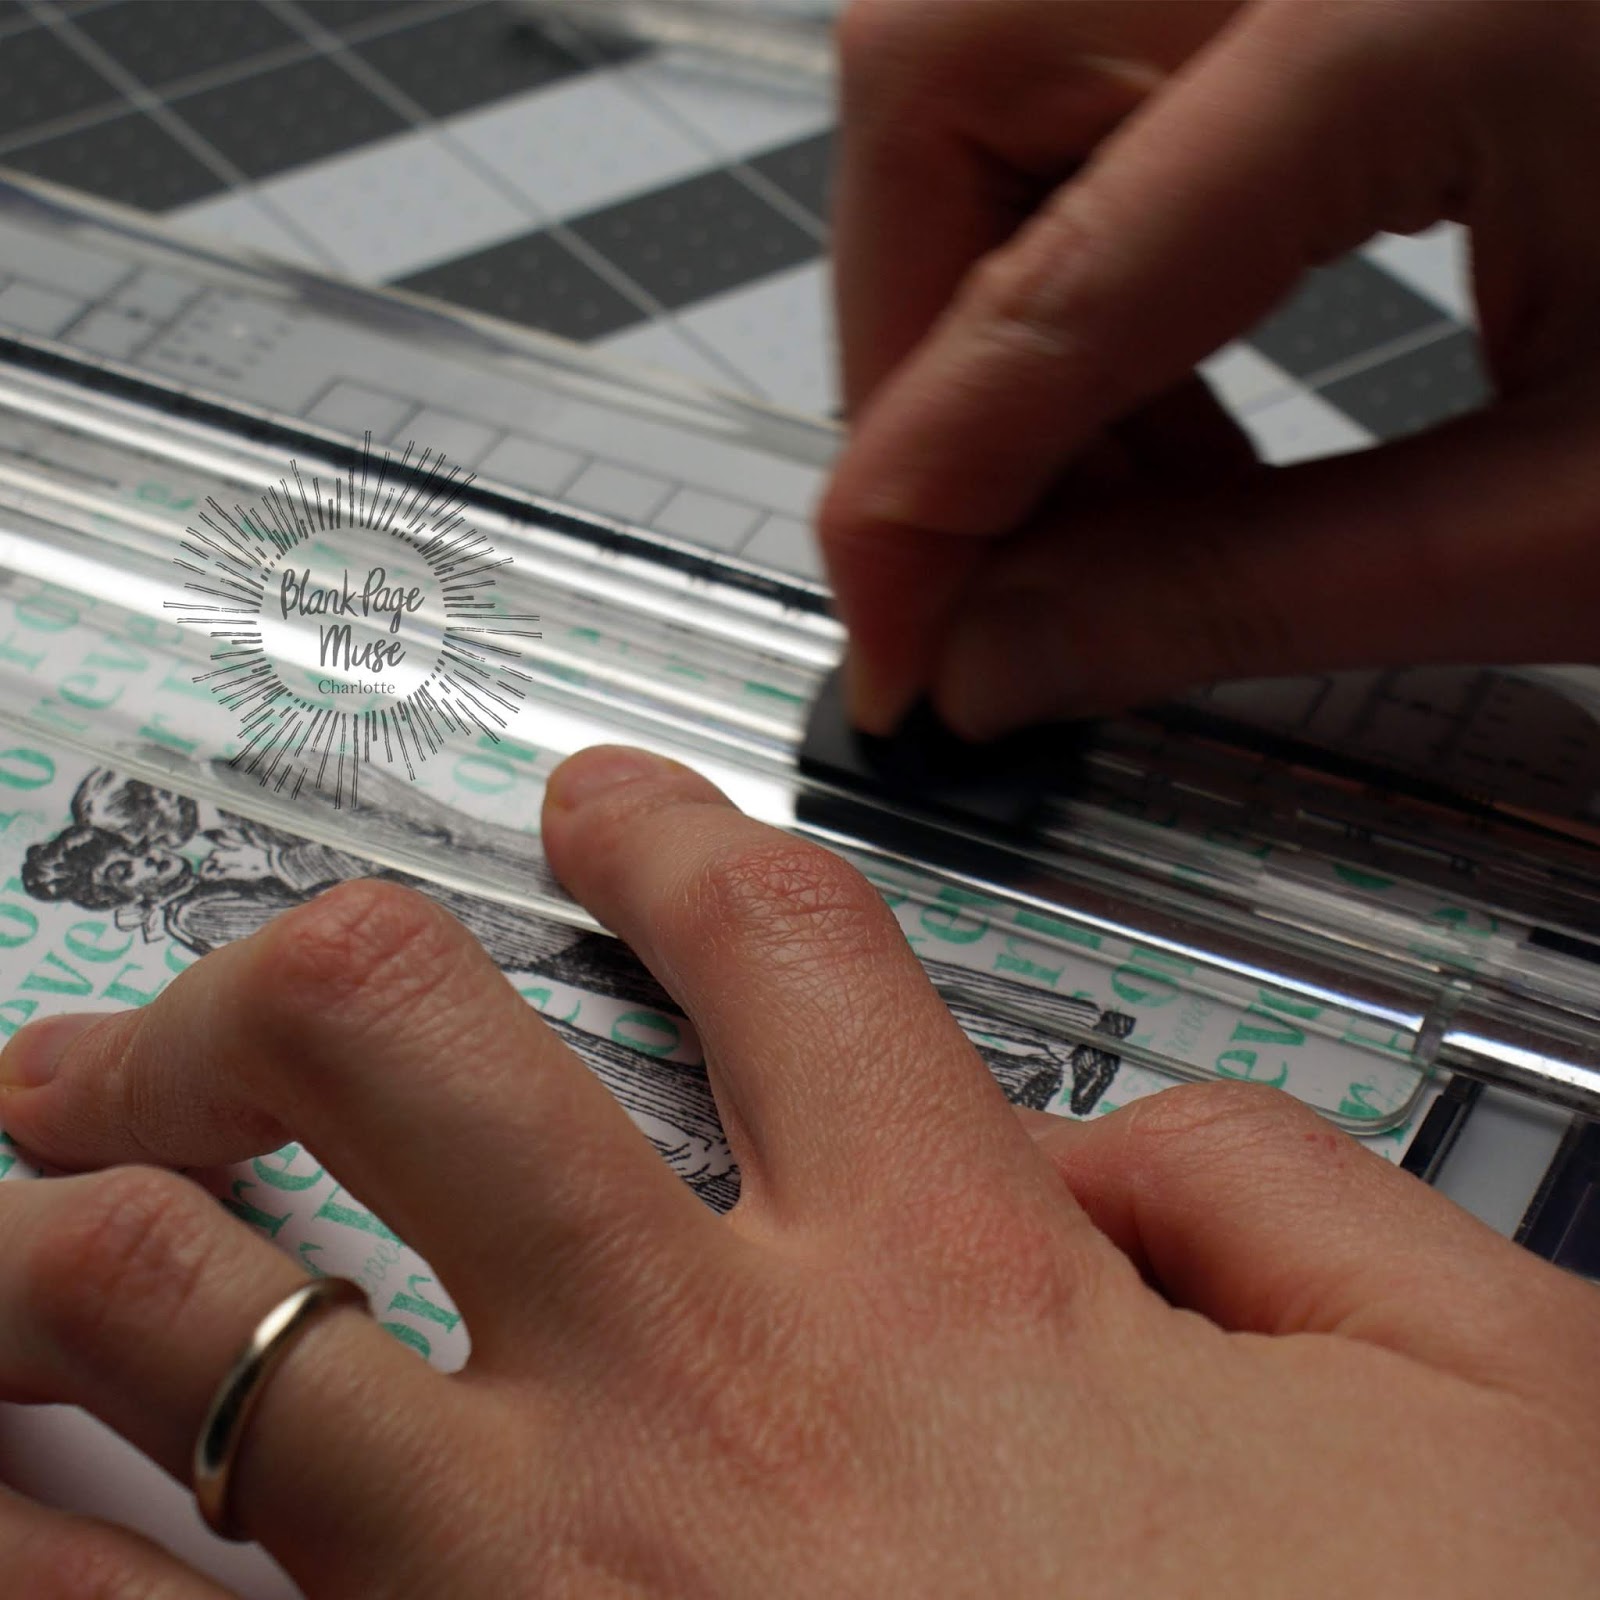
 Placing the card base into your paper cutter use the scoring blade to add a scored frame around the edges of the card. You could also use a score board for this.
Place the card base back in your stamping platform and position the larger sentiment centrally below the image. Stamp again, this time with black in, to create the focal sentiment of the card.

After removing the mask from the image, use alcohol markers (or other coloring medium of your choice) to add color to the image. As the line art of the image is so detailed it is not necessary to add detailed shading, though you can if you like.

I hope you enjoyed this one layer Valentine's card. Repeated stamping of a word or phrase can be a great way to add an interesting background to a card, and by masking the image it can remain all one layer making it easier to mail. Whilst I made this as a Valentine's card it could also work for an anniversary or even a wedding card. The technique could even be adapted to work for any occasion - how about switching to a "happy birthday" sentiment for a fun birthday card? 


Looking for more Inspiration?

Click the links below!


Wednesday, January 9, 2019

Oh! How I Love You, Won't You Be Mine?

Hello and welcome to the Blank Page Muse Blog! I know it is only January but it is time to get started on  those Valentine projects that you have been waiting to do until after the holidays.

I wanted to create a card for my hubby as this year we will celebrate 33 years of marriage, I can't believe we have been together that long!


Supplies -
Blank Page Muse Stamps used -
     Script stamp from Correspondence sheet by Katy Leitch
     Hearty Doodles by Katie Lamb
     Romance Classic Couples
Pink and white cardstock
Blank white card and envelope
Heart patterned paper
Ribbon
Love die cuts
Adhesive, foam and double stick tape
Gold embossing powder
Versamark ink
Heat tool


With the  Versamark ink, stamp the Romance Classic Couples  onto white cardstock, the  Script stamp around the edges of the pink cardstock and the medium heart from the Hearty Doodles onto the left-hand corner of the envelope. Sprinkle the still wet stamped images with gold embossing powder, shake off excess and heat emboss.


Layer your papers as shown. Place your ribbon at the bottom of the card and secure the ends at the back of the card.


Die cut up to 5 love words. Glue each one together. This will add dimension. Adhere to the card.


 Attach the gold embossed couple to the card with foam tape.


Assemble the card as shown.


Stamp and gold emboss a small heart on the upper left of the card.


What a romantic card!
 Hope you enjoyed this card and watch for more Blank Page Muse designs soon.

Looking for more Inspiration? Click the links below!

Tuesday, April 17, 2018

Forever

Hello Blank Page Muse Fans!
I hope you are all enjoying the fabulous creations being shared on the blog so far this month!
It's always great to see how everyone uses the stamps in their own style - it's also very inspiring!
I hope I can inspire you today to create some quick black & white + one colour tags to follow our theme this month and also to give you an opportunity to join in with the challenge theme!

Supplies:
Blank Page Muse Stamps: Dandelion Wishes with Butterflies
Blank Page Muse Stamps: Romance Classic Couples ("Forever" word stamp)
Tags - any size
Black & White textured and plain papers
Scraps of White Card
Ink pad in your chosen colour
Ink spray in same/similar colour as ink pad
Posca Pen - black or white
Embellishments: ribbon, twine, cloth scraps
General tools: scissors, glue stick, 450 glue (or similar), hole punch
Instructions:
Start by collecting some white papers with various textures, embossing and finishes - a great way to use up scraps of paper. This will work for any size tag and all you need is a glue stick to attach.


Tear your paper into strips approx. 1.5cm in width. There is no need to be neat!


Start at the bottom of your tag and apply glue with the stick and start to layer your torn strips of paper making sure to overlap and allow to hang over the sides!


Once the glue is dry trim around the edges with your scissors and punch the hole back in the top of the tag with the hole punch. It's a great idea to make several of these whilst you have lots of torn strips of paper - put some away to use when you need a quick make!


Using the Posca pens edge the borders of the tags. As you can see a black border for the white covered tag and vice versa!


Next stamp the butterfly inages and "forever" wording onto white cardstock using your chosen colour. You can also use ink spray to colour a piece of cloth. Edge the wording with the ink pad as well to add a border. Arrange your elements on the tag and adhere with glue - I always like to fold up the butterfly wings and just adhere the stamped image in the middle so you get a 3D look on your tag. Tie some fibres or ribbon in the same colour to the top of the tag.

Now you have some quick and easy tags!

Thanks for joining me today! Hope you will fond the time to play along with the Blog Challenge and also pop over to the Facebook Group for fun and creations!


Tuesday, November 21, 2017

3D Christmas Card


Hello Peeps!

Just have to warn you up front, I am trying something new to me... a 3D Christmas card!
I am very pleased with the final product and (to tell you the truth) it was surprisingly simple to make.


Supplies:
  Sin City Stamps - Romance Classic Couples

Other Supplies:
  Damask stamp
  Garland stamp
  Ornate frame dies
  Symmetrical tree die cuts
  Ribbon
  Foam tape
  Sequins
  Gold embossing powder
  Markers

Step 1:  Die cut out 4  Christmas trees.


Step 2:  Emboss garland onto tree cuts. Next score a vertical line down the center of each tree for folding.


Step 3: Fold trees in half along score line.


Step 4: Glue the wrong sides (side without embossing on it) of trees to each other forming the 3D effect.


Step 5:  Stamp the couple from the Romance Classic Couples stamp set. Cut out couple.


Step 6:  Die cut out the frame in gold.


Step 7: Die cut the inner stamp of the frame in white. Stamp the damask image in the center of cutout. Ink the edges of cutout.


Step 8:  Using markers color the couple.


Step 9:  Assemble the pieces onto the card base adding sequins to the tree and a ribbon bow to the top of the frame. I popped up the couple to add more dimension to the card.


We hope you try making a 3D card if you have not done so yet. Please share your creations with us on Sin City Stamps Fan page on Facebook.

X

Tuesday, August 1, 2017

Lets Dance


Sin City Stampers are you ready for a little romance?  Well I have the card for you!  I have created a card that would work for weddings, engagements, or anniversaries. I hope you all agree.


Supplies:
   Sin City Stamp - Romance Classic couples Line Art
   Glue pad
   Glitter
   Stencil of rain
   Die cut of Paris skyline
   Die cut of word love
   Doily
   Gems

Step 1:  Using the stencil, apply the glue pad through the cut outs of the stencil.  Add glitter being sure to burnish the glitter into the glue.


Step 2:  Stamp the dancing couple from the Romance Classic Couples Stamp Set.


Step 3:  Die cut the Paris skyline in black.


Step 4:  Cut out dancing couple image.


Step 5:  Die cut the word love.  Using the glue pad, add glue to die cut and add glitter.


Step 6:  Assemble elements, adding half of a doily and gems to the other elements to finish the card.


I must say this has turned out to be one of my favorites.  Would love to see your creation of a similar card.
Please share those creations at Sin City Fan Group.

X


Copyright Text

Blank Page Muse 2018 Sin City Stamps 2013