Showing posts with label one layer card. Show all posts

Saturday, March 23, 2019

Underwater Birthday Card

 Hi everyone! Charlotte here, and today I am sharing a clean and simple, one layer birthday card with an underwater theme.

Blank Page Muse products used:
Happy Birthday Phrase
Concentric Circles by Cathy Frailey
Seahorse

(Shop now and save! Use code BPMDtCharlotte2019 to save %15 off your total order!)

Other materials:
White card base
Inks in teal, medium blue and dark blue
Alcohol markers
Nuvo Drops in Sea Breeze
Stamping tool
Acrylic block

Instructions:
First stamp the Seahorse stamp directly onto an A2 card base using a dark teal ink.
Using an acrylic block and a medium blue ink, stamp the Concentric Circles stamp three times onto the card base, creating a visual triangle with the layout.
After removing the card base from the stamping tool, use pale teal shades of alcohol markers to color the seahorse.
After completing the coloring, return the card to the stamping tool and stamp the Happy Birthday Phrase using a darker blue ink.
Finally embellish by adding some Nuvo Drops in Sea Breeze. Follow the flow of the stamping when choosing the position of the drops, work in odd numbers, and again create a visual triangle.

I hope you enjoyed my blog post! Clean and simple cards can be such fun to make, and beautiful detailed stamps such as these can really go along way to making a one layer design stand out.


Looking for more Inspiration?

Click the links below!


Thursday, February 7, 2019

Creating Dimension with Masking

 Hi everyone! Charlotte here, and today I have a fun, clean and simple card to share with you. I enjoy making one layer cards, and love to use masking when I do. With masking it's possible to create the look of depth and dimension without actually adding any layers to the card.


Blank Page Muse products used:
Small Bird In Flight
Love Birds Word Art

Other materials:
White card base
Scrap paper and repositionable adhesive, or masking paper
Repositionable tape
Scissors
Stamp platform and/or stamping blocks
Black ink
Distress Oxide in Tumbled Glass
Cloud stencil
Alcohol markers or other coloring medium of your choice

Instructions:
Begin by stamping the Small Bird In Flight onto scrap paper, masking paper or post-it notes. Fussy cut them out. If using scrap paper, apply repositionable adhesive to the back and allow to dry to a tacky state.
Stamp the Small Bird In Flight twice onto the white A2 (4 1/2" by 5 1/2") card base using black ink. Ensure that the ink is safe to use with the chosen coloring medium. Apply the previously created masks over the stamped images.
Add the Love Birds sentiment. If using a stamp positioning tool, leave the sentiment stamp in place so that it can be restamped in the exact same position later.
Using tape to mask off the outer edges of the card, approximately 2 inches in from the left and 1 inch in from the right. Make sure that the leftmost bird overlaps the mask on that side, adjusting the placement of the mask if required.
With all the masks in place, begin ink blending. With a cloud stencil and Tumbled Glass Distress Ink, start at the top of the card and work down until the area is filled with clouds.
 Carefully peel off all the masks. Pull slowly and gently to avoid tearing the card base.
If the ink blending has faded the sentiment, place the card base back into the stamp positioning tool and restamp the sentiment. Then the final touch is to color the birds with the preferred coloring medium.

Thank you for reading my post! I hope you liked the card and that you will give this technique a go. Masking is really fun and a great way to create scenes, from simple to more complex designs. I'd love to see what you make if this inspired you!


Looking for more Inspiration?

Click the links below!


Wednesday, January 23, 2019

Vintage Meets Modern Valentine's Card


 Hi everyone! Charlotte here, and today I have a Valentine's Card to share with you. With this card I combined vintage and modern using an image with a vintage feel along with a more modern and graphic background design. 

Blank Page Muse products used:

Other materials:
White card base
Scrap paper and repositionable adhesive, or masking paper
Stamp platform and/or stamping blocks
Small brayer
Black ink
Two shades of teal ink
Alcohol markers or other coloring medium of your choice
Scissors
Paper cutter with scoring blade, or other scoring tool of your choice

Instructions:
Begin by positioning the image stamp in your stamping platform. When I'm stamping directly onto my card base I like to stamp first onto a piece of acetate laid over it, so that I can be sure the position is correct before committing to stamping on the card.

Use black ink, ensuring it is safe for use with your chosen coloring medium, stamp the image onto the card base. When using a particularly large or intricate stamp it can be helpful to run a brayer over it to ensure that it stamps evenly and no areas are missed.
Stamp the image again, this time onto a piece of scrap paper or masking paper. Fussy cut the image out. If you are using scrap paper, apply a repositionable adhesive to the back to create a mask. 
Position the mask over the image on the card base. The mask will allow us to add further stamping around the image without getting any of it on the image itself. Masking is a great technique when making one layer cards like this one.
Using the "forever" sentiment from the Romance Classic Couple set, stamp repeatedly across the card base with a medium shade of teal ink. Continue until the card base is covered. For extra interest, use the small "forever" sentiment from Inhale... Exhale with a lighter teal ink in a few random places between the larger words.
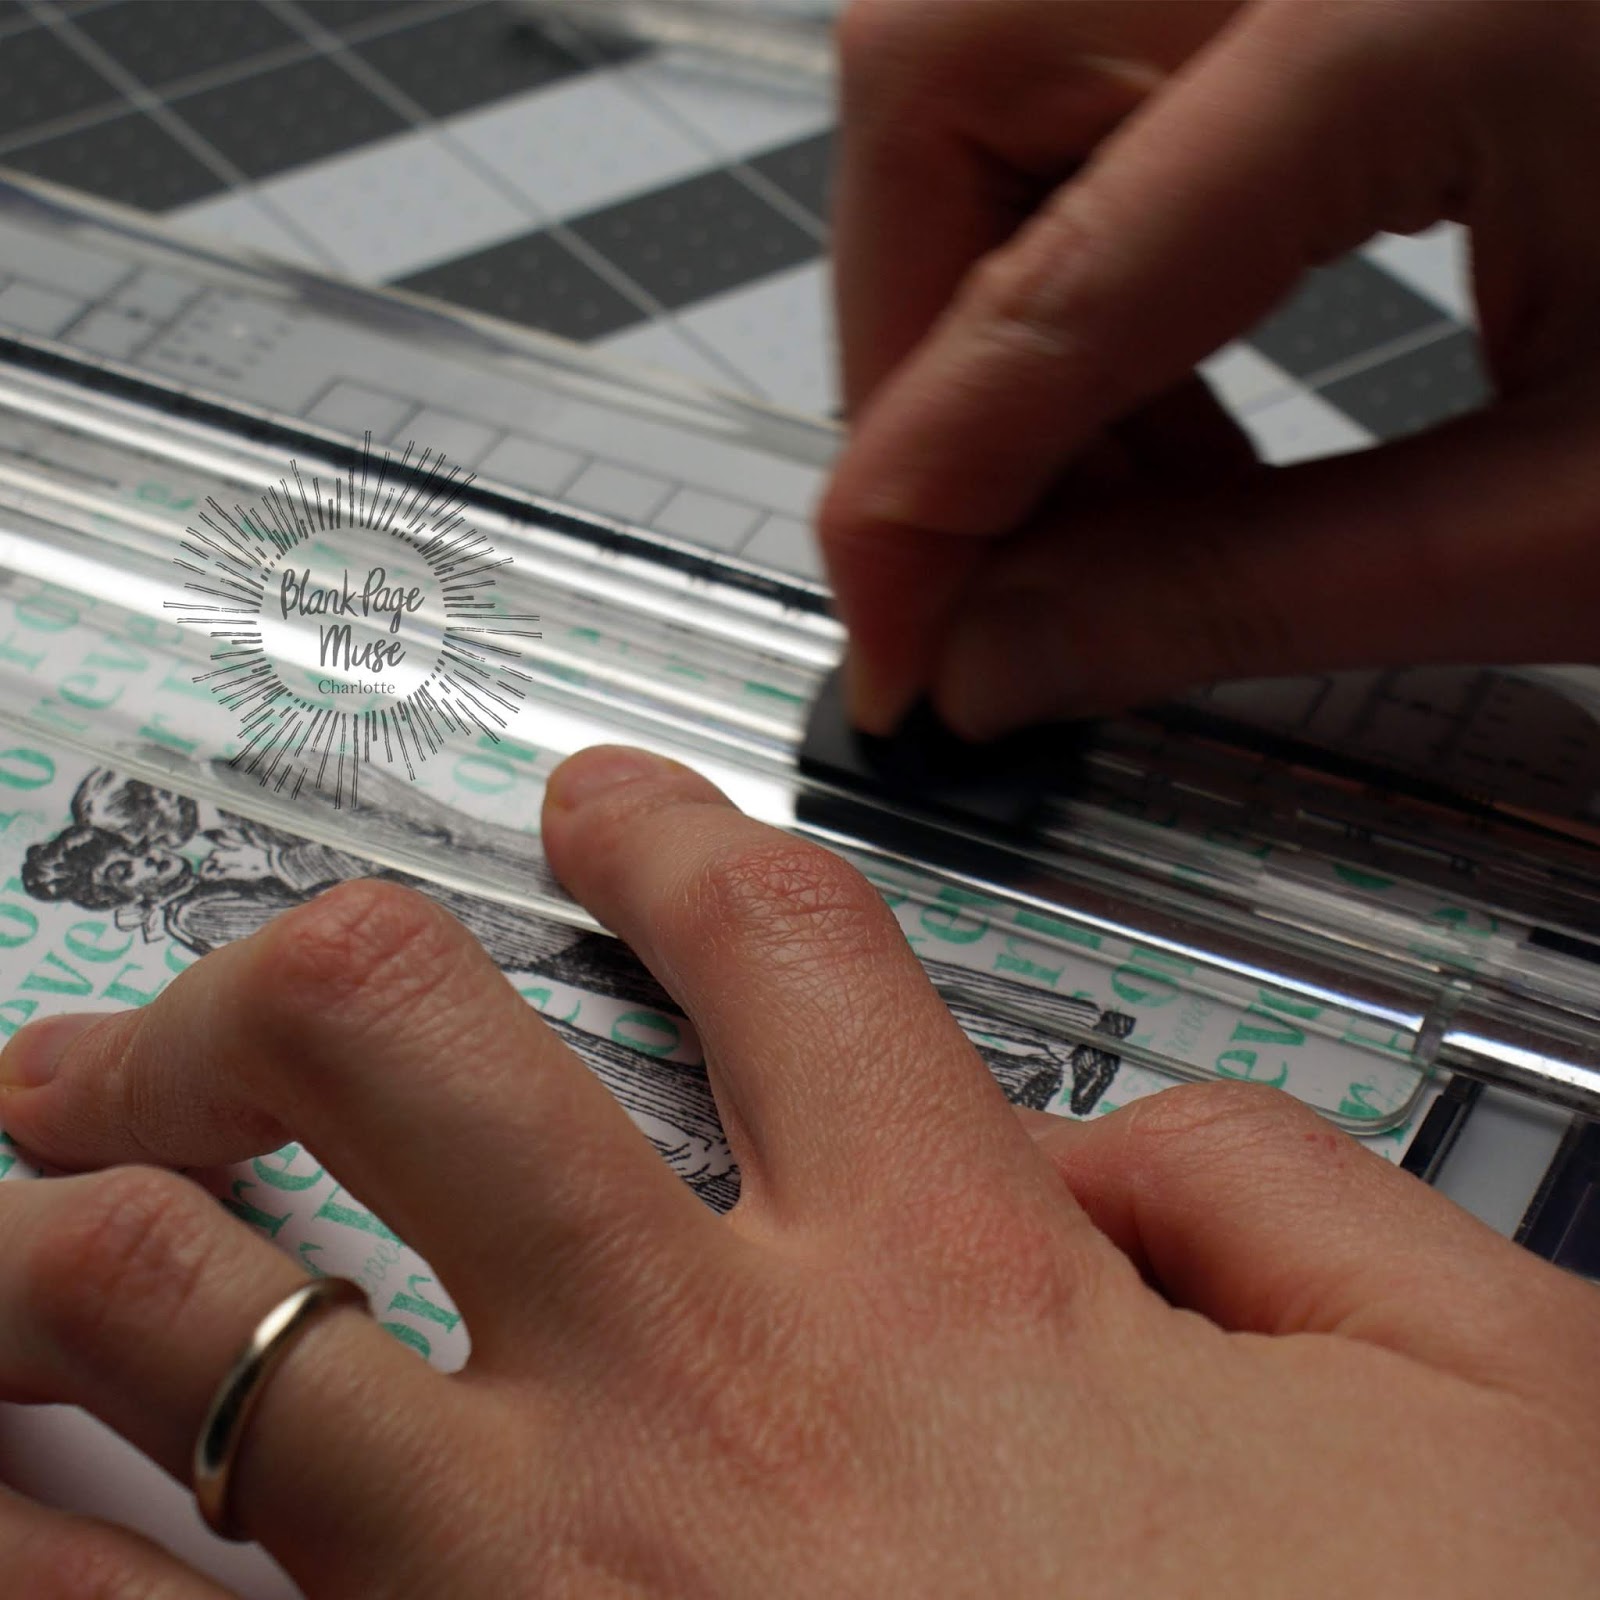
 Placing the card base into your paper cutter use the scoring blade to add a scored frame around the edges of the card. You could also use a score board for this.
Place the card base back in your stamping platform and position the larger sentiment centrally below the image. Stamp again, this time with black in, to create the focal sentiment of the card.

After removing the mask from the image, use alcohol markers (or other coloring medium of your choice) to add color to the image. As the line art of the image is so detailed it is not necessary to add detailed shading, though you can if you like.

I hope you enjoyed this one layer Valentine's card. Repeated stamping of a word or phrase can be a great way to add an interesting background to a card, and by masking the image it can remain all one layer making it easier to mail. Whilst I made this as a Valentine's card it could also work for an anniversary or even a wedding card. The technique could even be adapted to work for any occasion - how about switching to a "happy birthday" sentiment for a fun birthday card? 


Looking for more Inspiration?

Click the links below!


Copyright Text

Blank Page Muse 2018 Sin City Stamps 2013