Showing posts with label tag. Show all posts

Monday, August 5, 2024

Spooky Night Cemetery Crypt

Happy Halloween in August! Lyneen here, I don't think it is too early to start creating your spooky cards, tags and decor for Halloween. I am sharing a tag today; I masked to the spooky cemetery. This technique can be used for cards too. 


Stamp from Blank Page Muse
The Cemetery Crypt can be purchased as a single stamp or as a part of a full stamp set.

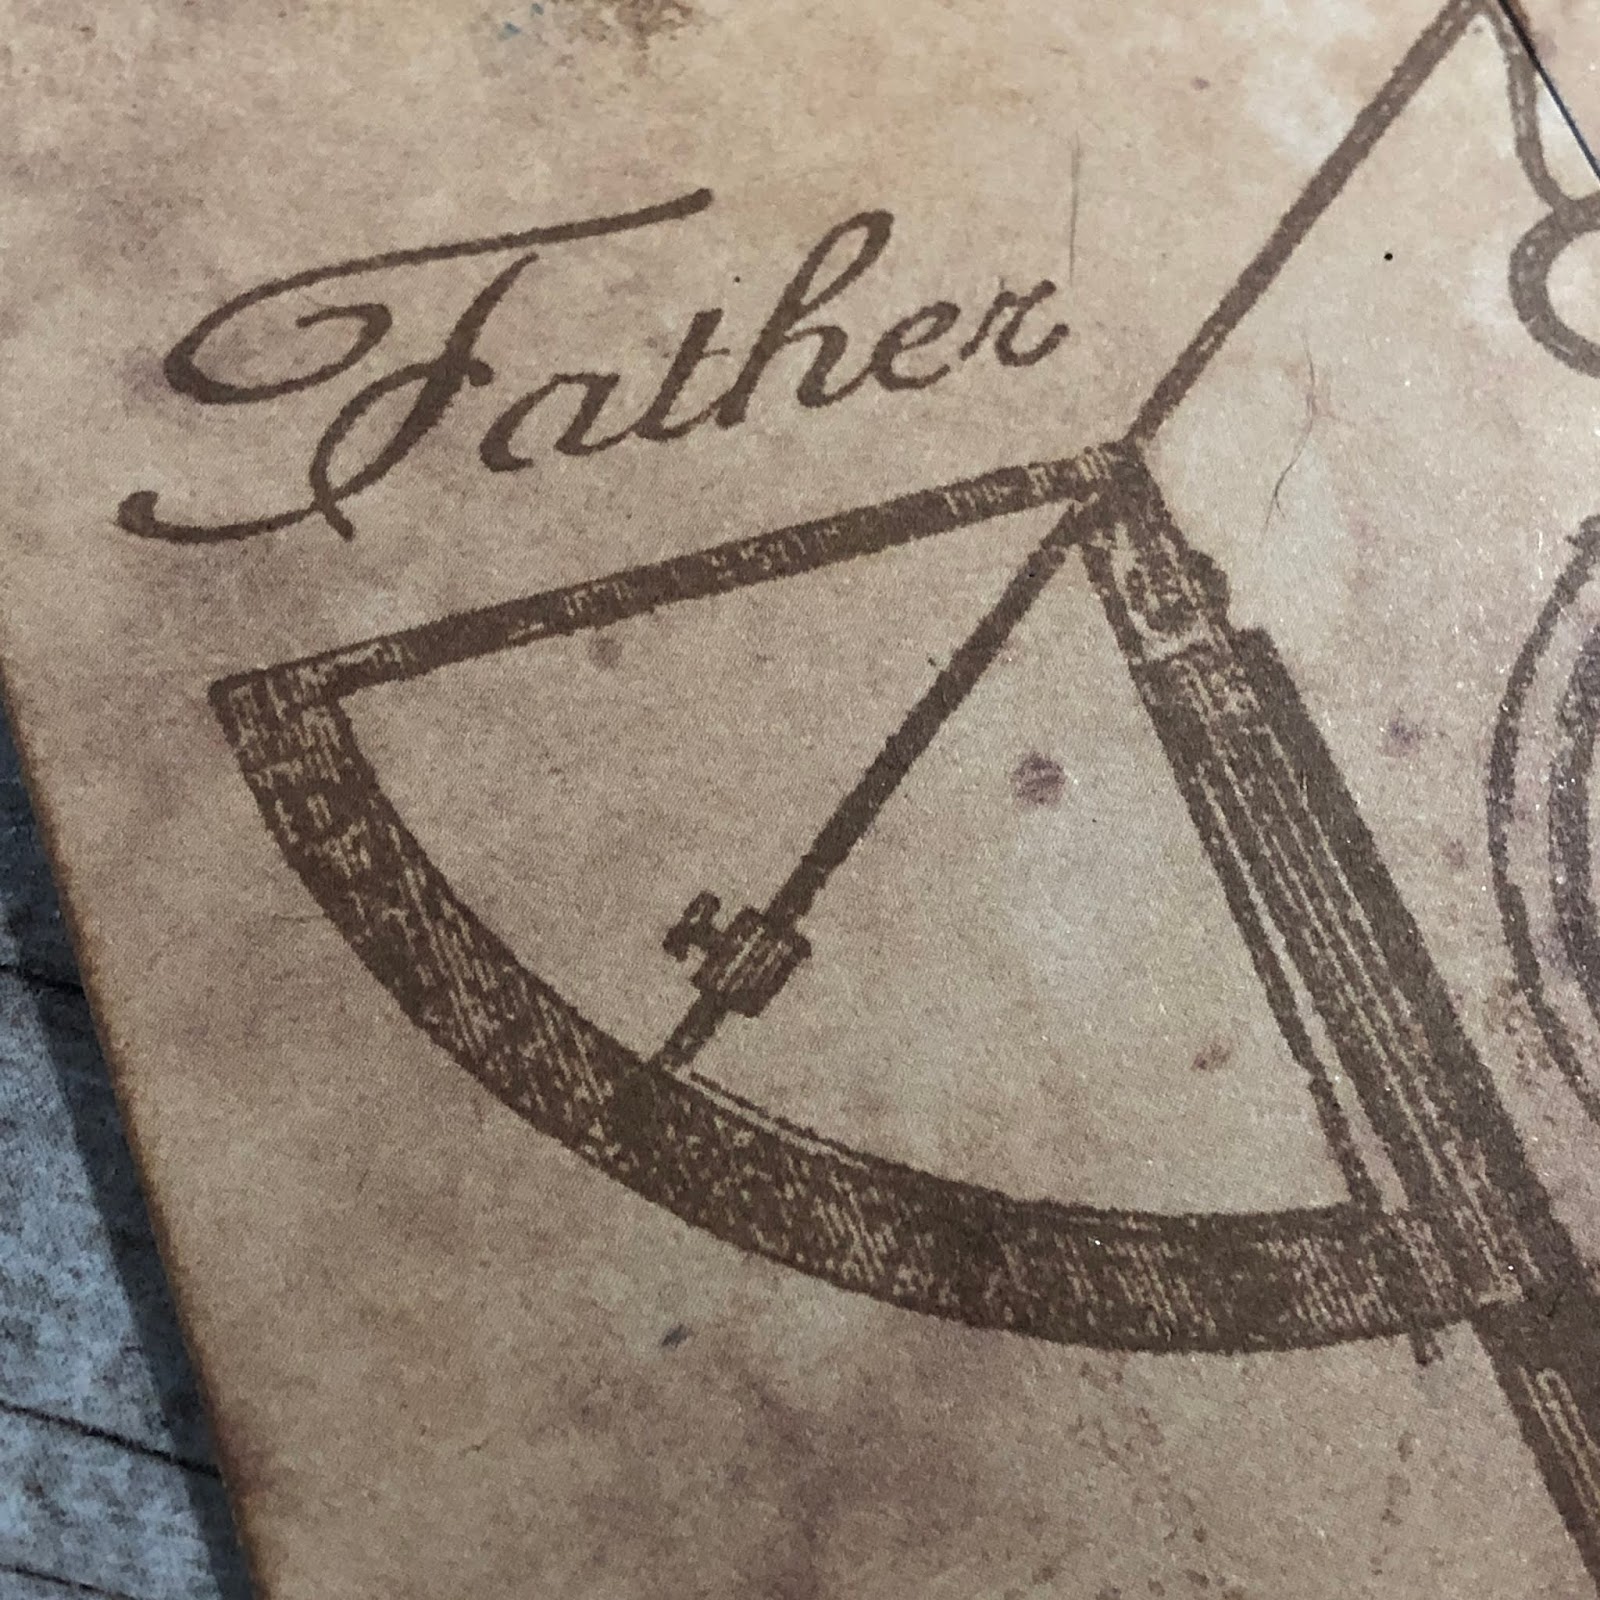
Cemetery Crypt Cross Halloween Rubber Stamp

Can also be found in the Halloween Takes Flight Rubber Stamp Set


Other Supplies
Aall & Create Tag Die #30
Tim Holtz Distress Oxide Ink Dusty Concord, Squeezed Lemon and Carved Pumpkin
Stazon On Jet Black
Stamping Platform
Gems
Ribbon


Die cut the white and black layers of the tag. Stamp image on paper and fussy cut.


Stamp the image with StazOn ink on the white die cut tag.  I like to use a stamp platform when stamping.  


Cover the stamped image with the mask.  With Tim Holtz Distress Oxide Ink Dusty Concord, Squeezed Lemon and Carved Pumpkin


Lift the mask off and lightly ink the moon with Tim Holtz Distress Oxide Ink Squeezed Lemonade. Leaving the cross and crypt black and white.   


Mount the inked tag on the base black tag. Add die cut paper hole enforcements, adhere to the front and back of the card. Tie festive ribbons onto the tag. Finally, add a few gems for a bit of bling.  


Your tag is ready for any Halloween gift bag, host gift or add it to the front of a card. 

Please visit our social media sites for more stamping fun!

I Brake For Stamps - https://ibrakeforstamps.com/

The Blank Page Muse- https://blankpagemuse.com/

FB Fan Page- https://www.facebook.com/groups/blankpagemuse/

Instagram Shop- https://www.instagram.com/blankpagemuse/

Instagram Blog- https://www.instagram.com/blankpagemuseblog/

Twitter- https://twitter.com/BlankPageMuse

Pinterest- https://www.pinterest.com/blankpagemuse/boards/


Monday, July 15, 2024

Color me Perfect Gift Bag

Lyneen here with a DIY gift bag idea.  I rarely buy beautiful gift bags.  Instead, I pick up bags at the dollar store and decorate them with papers, tags and ribbons.  


Today I have a bag using the Color Me Perfect Art Doll stamp collection and Bedazzled Diamonds Stencil, both created by Pam Bray. 


Visit my Blog HERE for a detailed tutorial!


Pease visit our social media sites for more stamping fun!
I Brake For Stamps - https://ibrakeforstamps.com/
The Blank Page Muse- https://blankpagemuse.com/

Wednesday, November 15, 2023

Another Jane Inspired Project!

 Lyneen, here with more JANE!  If you haven't guessed I am a fan of Jane Austen!  I love creating things JANE! Today I have another tag created with Blank Page Muse stamps.  I love the tow Jane inspired plates of Jane images and words.  I really fell in love this the background on this tag. 

“Indulge your imagination in every possible flight.”  Are from a letter Elizabeth writes to her aunt Mrs. Gardiner in Pride and Prejudice. 


To create the tag, I used the following stamps from Blank Page Muse:

Words by Jane Sentiments & Silhouette Images Rubber Art Stamp Sheet SC202

Daisy Flower Art Rubber Stamp TTS117-08


Visit my Blog HERE for a detailed tutorial!  

Please visit our social media sites for more stamping fun!

I Brake For Stamps -https://ibrakeforstamps.com/

The Blank Page Muse- https://blankpagemuse.com/

FB Fan Page- https://www.facebook.com/groups/blankpagemuse/

Instagram Shop- https://www.instagram.com/blankpagemuse/

Instagram Blog- https://www.instagram.com/blankpagemuseblog/

Twitter- https://twitter.com/BlankPageMuse

Pinterest- https://www.pinterest.com/blankpagemuse/boards/


Sunday, November 5, 2023

Fourth in my series of Jane Inspired Projects

Hello, Lyneen back with more Jane! Today’s Project is inspired by a quote from Jane Austen’s Mansfield Park.  “I was quiet, but I was not blind.” Fanny says this during a difficult conversation with Mary Crawford, the night before Mary & Henry Crawford are to leave for London.   


Did you notice Jane Austen's image in the silhouette?

Visit my Blog HERE for a detailed tutorial! 

Please visit our social media sites for more stamping fun!

I Brake For Stamps -https://ibrakeforstamps.com/

The Blank Page Muse- https://blankpagemuse.com/

FB Fan Page- https://www.facebook.com/groups/blankpagemuse/

Instagram Shop- https://www.instagram.com/blankpagemuse/

Instagram Blog- https://www.instagram.com/blankpagemuseblog/

Twitter- https://twitter.com/BlankPageMuse

Pinterest- https://www.pinterest.com/blankpagemuse/boards/


Sunday, October 15, 2023

Third in my Series of Jane Inspired Projects

Greetings Creatives! Lyneen here, today I have another one of my series of Jane inspired projects creating with Blank Page Muse!  Blank Page Muse stamp plates "Words by Jane" are on my list of favorite stamps. The plates are inspired by the works of Jane Austen. If you are a Janenite these are for you!


To create the tag, I used the following stamps and stencils from Blank Page Muse:


Visit my Blog HERE for a detailed tutorial!

Friday, May 3, 2019

Father's Day Double Tag

Father's Day Double Tag


Blank Page Muse Stamps Used:


Other Products Used:

Art-C Tea Stained Tags
Archival Ink
Washi Tape


Be sure to use coupon code: BPMDtStephanie2019 to save 15% off your order!

Stephanie here sharing my steampunk themed Father's Day Double Tag. I love everything steampunk and jumped at the idea to create a Father's Day Tag. Using prestained tags made this project a quick one. Let's get started!

1. Use washi tape to adhere the tea stained tags together


2. Stamp the bottom left of the tags with the Steampunk Pocket Watch & Scale.


3. Randomly stamp the Diamond Repeating Pattern Back stamp over the tags making sure to avoid the Pocket Watch and Scale. On the top right portion of the tag stamp Time Flies quote.


 4. Stamp "Father" over the scale portion of the tag. 


Check out the amazing details in the pocket watch in the photo below. It blows my mind how detailed it is!


I hope you enjoyed this Father's Day tag. I know I had fun creating it! Check the links below for more BPM goodness!

For more BPM Inspiration just follow the links below!

More projects by Stephanie

Sunday, February 17, 2019

Time Flies.....

Hello Again Fans!
Are you loving this months theme "Things with Wings"?
Soooooo many Blank Page Muse Stamps to create with for this theme - my tag art today uses three different stamps from the fab range at the Store!
 
You know I love to decorate tags so I hope you enjoy my mixed media double tag creation today!
Supplies List:
Blank Page Muse Stamp: Feathered Pair of Wings
Blank Page Muse Stamp: Birds on Wires Silhouette Border designed by Terri Sproul
Blank Page Muse Stamp: Feather Art designed by Pam Bray
Gelli Plate Printed Double Tags note: you can cut your own tags to size from your gelli prints if you don't have any!!
Embossing Ink Stamp Pad, Black Fine Embossing Powder and Embossing Powder in Complimentary Colour
Black Archival Ink Pad
White Tissue Paper
Kraft Paper
Collage "Characters" used here by Art Tea Life
Various embellishments: string, muslin cloth, cork style border strip etc.
Tools: heat gun, scissors, glue
 
 
Instructions:
Use pre printed tags or cut your own from gelli plate printed card. I always have some extra things on hand to grab and create with!

Use the Feather Art stamp with embossing ink and embossing powder to randomly add some more dimension to the printed background and add a little "sparkle"!


Use the Black Archival Ink to stamp the Birds on Wires onto white tissue paper. Tear out the stamped image.


Use Gel Medium to adhere the tissue paper stamps onto the tag background. Tearing the image allows it to "blend" into the background better than a straight cut edged piece of tissue. Be careful when adhering the tissue down as it can tear easily once wet. Allow to dry.


Whilst your tag background is drying stamp the wings and sentiment onto Kraft Paper using the clear embossing ink pad. Use fine black embossing powder and heat. Fussy cut the wings and tear the sentiment.


Gather your collage elements, stamped images and embellishments. Glue the embossed and fussy cut wings to your collage character. Soooo cute!!!!!

Arrange all of your elements onto the tag background and adhere everything with glue. To finish tie some string to the top of each of the double tag.
 

I always like to stamp extra images so I can make more than one tag at a time. I created another double tag with my extras:
 

Happy Stamping and have a great week!!!
Sharon :)
And as always don't forget to visit us at all of these Social Media Sites:

The Blank Page Muse- https://blankpagemuse.com/


Monday, November 12, 2018

Happy Fall

 Good day to you all! 
Cathy here with a great, fun Fall card.
Blank Page Muse stamps Used:
Whimsical Doodle 5 pedal flower by Pam Bray
Chicken Wire Mesh by Pam Bray

Other Supplies Used: Tag
                                   White cardstock
                                    Ribbon
                                    Pattern Paper
                                    Copic Marker
                                    Distress Oxide ink
                                    Black Ink
                                 
 Start out by making your tag background. Use some Distress Oxide ink to make the background. Smooch some Fall like colors on the craft mat and add some water and then smooch the tag in it. Repeat till you are happy with the color of the tag. Take your ribbon and dye it to match the tag you just made. Set aside to dry.
Stamp the Chicken Wire Mesh by Pam Bray randomly over the tag.
 Stamp out  Whimsical Doodle 5 pedal flower by Pam Bray. onto white cardstock.
 Cut out and color center with Copic markers or any makers or pencils you have. Add some of the  Whimsical Doodle 5 pedal flower by Pam Bray to the tag. 

Cut some of the pattern paper for the background.  Cut out more  Whimsical Doodle 5 pedal flower by Pam Bray and add it to the card. Attach the ribbon that you dyed earlier to the tag.


The Blank Page Muse- https://blankpagemuse.com/

FB Fan Page-  https://www.facebook.com/groups/blankpagemuse/

Instagram Shop-  https://www.instagram.com/blankpagemuse/

Instagram Blog-  https://www.instagram.com/blankpagemuseblog/

Twitter-  https://twitter.com/BlankPageMuse

Pintrest- https://www.pinterest.com/blankpagemuse/boards/

Thursday, October 25, 2018

Mixed Media Amethyst Druzy Tag WIP Oct 25


Want to learn how to create this sparkling Druzy effect?
 Check out the tutorial  below.


Stencil mask
Modeling paste
Card
Ink pads
Mist sprays
Crackle glaze
Glitter
Gems


Spray a blank tag with purple mist sprays, then use a variety of purple colored inks to stamp randomly around the tag. 
Apply the modeling paste with a stencil and leave to dry.


Stamp out the flowers on to scrap card that has been sprayed over with mist sprays. 
Cut them out and apply some glue to the centers of the larger flowers. 
Sprinkle still wet glue with glitter, then seal with crackle glaze. 
This will take a few hours to set before you can add them to the tag.


Add burlap and a die-cut background to the center of the tag. 
I buy white burlap and either paint or ink it to match the color scheme. 
Decorate with gems and sequins.


Once the crackle glaze has set, a faux druzy effect will appear..

Thank you for  visiting and please follow us on social media 

The Blank Page Muse Shop http://blankpagemuse.com/
That's Crafty  UK And Worldwide here http://www.thatscrafty.co.uk/blank-page-muse.html
FB Fan Page https://www.facebook.com/groups/bla...


Copyright Text

Blank Page Muse 2018 Sin City Stamps 2013