Showing posts with label birthday. Show all posts

Sunday, December 7, 2025

Birthday Hugs


     Birthday Hugs

Good day, fellow crafters. It's Tamara once again, with a new post showcasing my latest card created using  Blank Page Muse products! Today, I want to send you the biggest birthday hug imaginable—one that's warm, full of joy, and overflowing with all the love you've shared so selflessly. May your year ahead be as beautifully layered and full of life as these petals, with every twist and turn leading to moments that make your heart sing. Let's dive in!


To create this project, you will need the following:

Stamps

 Paper

  • (1) White Cardstock  - 4.25" x 5.5"
  • (1) White A2 card base 

Tools and Consumables

  • Sticky mat (optional but very useful to hold work in place without using tape)
  • Scissors
  • Liquid glue
  • Paper Trimmer
  • Purple Ink
  • Black ink 
  • Ink-blending brush(s)
  • Stamping tool (I use a Misiti)
  • Colored Pencils
  • Masking sheet 4.25" x 5.5"
  • Low-tack adhesive 
  • Sentiment of your choice (Mine came from my stash) 
Process: 
  • Secure the white cardstock to the stamping tool.
  • Align the carnation stamp in the center of the panel.
  • Use low-tack adhesive on the back of the carnation stamp and then secure it to the stamping platform with some light pressure.
  • Ink the stamp with the Black ink, and then stamp the image. Reapply ink to the stamp and restamp if required for complete even coverage.
  • Remove the stamped panel from the stamping platform and secure the masking sheet in its place.
  • Ink the stamp with the Black ink, and then stamp the image. Reapply ink to the stamp and restamp if required for complete even coverage.
  • Remove the masking sheet and trim it along the edges of the image with scissors.
  • Peel the masking sheet back and apply it over the image previously stamped on the cardstock panel.
  • Secure the masked panel to your worksurface or the sticky mat.
  • Use the Purple ink and an ink brush to ink blend a background around the image to the desired hue.
  • Once the ink has dried, slowly peel the masking sheet off at a 45-degree angle to minimize the chances of tearing the image below.
  • Remove the panel from the sticky mat and secure it to a work surface.  I prefer my glassboard because it is ultra smooth, but I have also found a clipboard to work well.
  • Use colored pencils, Pinks, Reds, and Greens, to color in the image.
  • Secure the panel into the stamping platform, align, secure, ink, and then stamp the sentiment.
  • Remove the panel from the stamping platform.
  • Secure the background panel to the black cardstock with liquid glue.
  • Adhere the completed panel to the A2 card base with liquid glue.

The stamps I used can be found by following the links in the materials list, or you can find them with a quick search on www.blankpagemuse.com. Visit our social media sites for more stamping fun!


Friday, March 22, 2024

Happy Birthday Card

 Hi everyone, Steph Ackerman here today.

Today I am using some amazing products from Blank Page Muse and I Brake for Stamps.


Blank Page Muse Stamps:  Special Day Clear Stamp Set
Blank Page Muse Digital Papers:  Frosty Night
I Brake for Stamps:  Happy Birthday Background Text

Use the newly available winter digital papers as a back drop for a birthday card.
Mix and match stamps for a unique look

Details can be found on my blog.

Thanks for stopping by.


Steph

Looking for more Inspiration? Click the links below!
The Blank Page Muse Shop https://blankpagemuse.com/

Save 15% of your Blank Page Muse orders with discount code:  BPMSteph

Saturday, July 30, 2022

Many Happy Returns!

 Hi BPM Fans

Hope you have all been enjoying the wonderful inspiration being shared here at the blog!
Remember to pop over to the I Brake for Stamps Blog too!
All the links are at the bottom of this post for our Social Media "haunts"!!!


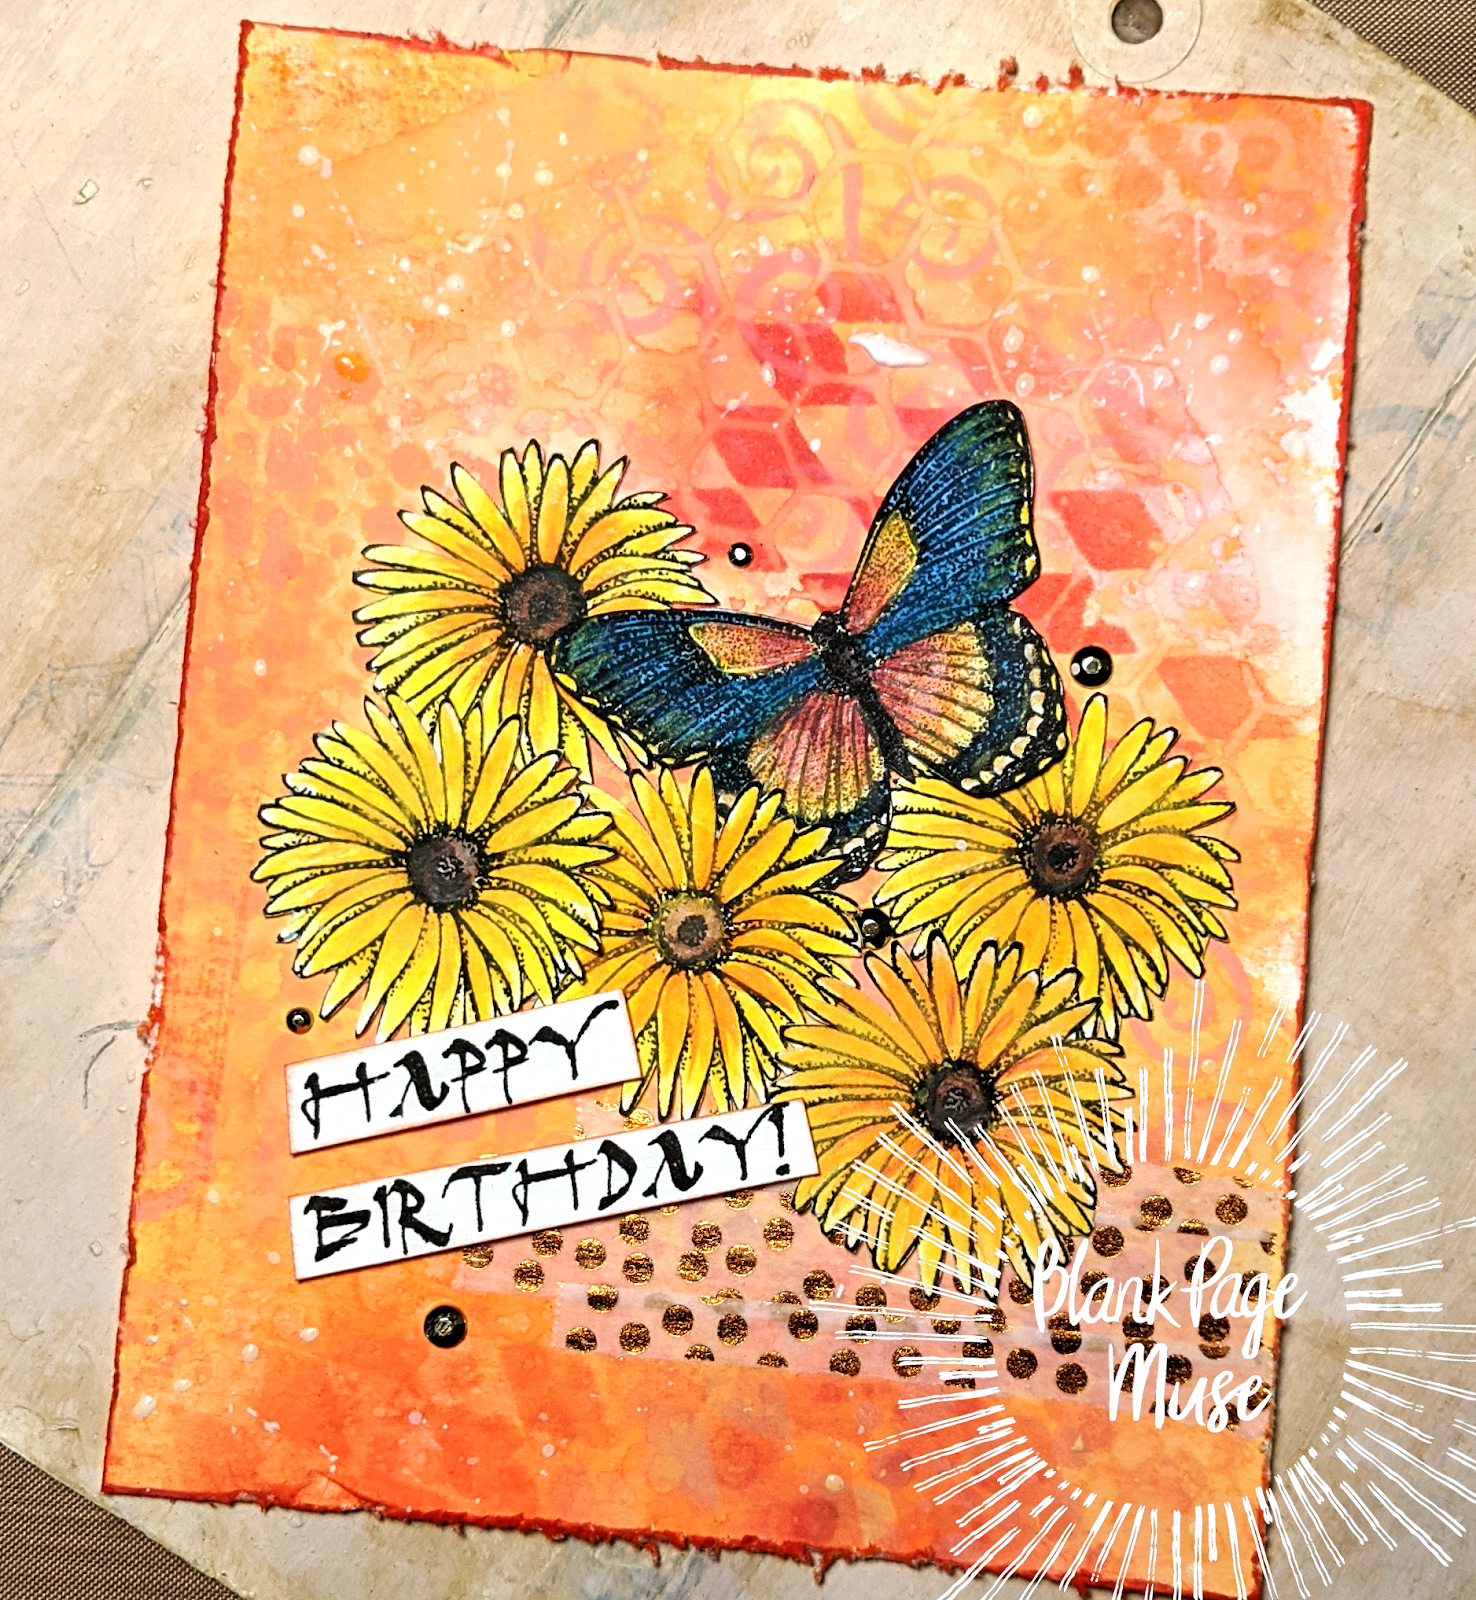
I've created a Birthday Card for todays post!

Stamps used:

 License Plate Letters (from IBFS Store)


And I used some of my leftover "master board" from my "Feeling Colorful" creation click here also using BPM Stamps and Stencils.


***Remember to use the code BPMSharon at the store for 15% off ***
So many fab stamps to choose from!
Note: you can use the code at either the BPM Store OR the IBFS Store!

Pop over to My Blog and you can see all my stamping creations!

Tuesday, March 17, 2020

Party On with Party Gryz~ Awesome ATC by Stephanie

Hello Hello!

Today Stephanie has a really colorful artist trading card to share! Remember our creative challenge and the theme is Anything But a Card! ATCs and ATCoins are so fun, which do you like better? We'd love to know!

Here are the basic supplies Stephanie used for the ATC featuring the too cute Party Gryz designed by Magda Polakow!

BPM PRODUCTS:


Other products:

Copic markers
Inktense Pencils 
Waterbrush 
Washi 
Distress ink
Glitter ink


Have a colorful day!
Find Stephanie online here:

Inkypinkyboo.com
Instagram: @inkypinkyboo

Monday, January 13, 2020

Make a Wish........

Hello Blank Page Muse Stamps Fans!!!

Here we are already into the new year!

Are you enjoying our "Happy Birthday" theme so far this month?
A great theme to start 2020 with lots of inspirational ways to use your BPM Stamps!

I'm particularly excited because January is my birthday month so I've been having a lot of fun creating my blog posts!


Today I am sharing some gift tags using BPM Stamps and some quirky collage elements. I love that these have a rustic and sort of messy feel to them.

Not only do these tags fir perfectly with our challenge theme this month but can also be adapted for Xmas and any other occasion - "Making a Wish" really relates to any occasion and we can always do with a guardian angel!

Hope you enjoy my post today!


Supplies:
Blank Page Muse Stamp: "Make a Wish" from Dandelion Wishes with Butterflies Stamp Set
Blank Page Muse Stamp: "Stars"
Collage Angels: Art Tea Life Collage Sheet used for these Tags
Manila Tags
Chalk Paints
Embossing Ink & Gold Embossing Powder
Black Archival Ink Pad & Scrap White Textured Paper
General: heat gun, scissors, glue, spatula
Extras: Smooch Gold Ink, Scrap muslin or gauze, ribbon or twine

Instructions:


Gather your bits & pieces - grab multiples and make several tags in the one sitting!


Start by painting the tags. Use a spatula to scrape "blobs" of the coloured chalk paints onto the background.  Allow to dry. Note: I love using a spatula because I am too lazy to clean a paintbrush and I love the messy rustic look!


Using the embossing ink pad and star stamp on the tag backgrounds emboss with gold powder. No need to be neat! Use the black archival ink pad to stamp "Make a Wish" onto white paper and tear out.


Edge the tags with gold Smooch and allow to dry. Arrange the collage angels, wording and gauze on the tags and adhere with glue. Tie a piece of ribbon or twine to the tag tops and you are done!


Happy Stamping!

Sharon

Don't forget to check us out at all of our social media sites
The Blank Page Muse- https://blankpagemuse.com/

Wednesday, January 1, 2020

Happy New Year! Welcome 2020! New Year, New Challenge!

Happy New Year!

From all of us to you and yours, we wish you a joyful year filled with crafty happiness!

This year at Blank Page Muse, we have a few new things to inspire you as well as some amazing crafty goodness to share on these pages all year long! We'll continue to bring you some amazing projects crafted by our Inspiration Muse Teams, the Rubber Stamp Team and Planner Team. So check back often to see what's new!

We have some treats in store with some fabulously talented Guest Designers, we can't wait to share what they create! And of course some super fun new stamps!

January 15, 2020, Bella Crafts Publishing will be doing a Facebook Live using our rubber stamps. We'll post more details when we get them. In the meantime, we'd love it if you liked and followed Bella Crafts, tell them Blank Page Muse sent you :) Here's their link, Bella Crafts Publishing. A little birdie tells me there is a giveaway involved to those that watch and comment.

Speaking of giveaways, we are proud to sponsor a couple of fantastic giveaways at the Stamp and Scrapbook Expo Blog, so make sure to check back here and our Facebook Fan Group to learn the dates. Blank Page Muse Fan Group  The wonderful folks at the Stamp & Scrapbook Expo can be found HERE.

We will be selling at two Stamp and Scrapbooks Expo shows this year, this April in Pomona, California and next Fall in Ontario, California! We can't wait to meet all of you!

Wrapping up this post, we are bringing back our Creative Challenge!! Yay!! The rules can be found HERE and at the top of the blog.

Here's how it goes, on the first of the month we'll post the theme you need to follow. Then on the 10th of each month the link up tool will be active and ready for you to share your makes. The projects must be new, follow the theme and must use physical stamps, clear or rubber. We'd love it if they were our stamps, but we're open to any stamps, just no digis. The physical stamps must be the star of the show. The challenge runs to the 5th of the next month. The winner will be announced on the 9th before the new link up opens.

Enough words now! Thanks for reading this far!

The theme for January 2020 is......... BIRTHDAY!


Blank Page Muse Stamps used:
Crafted by me, Kim, using Distress Inks, stencils, Derwent Inktense blocks and pencils.

Grab our badge for your blog and come back on the 10th to link up your hand stamped Birthday project and it doesn't need to be a card :)

Happy New Year Crafty Friends!
Have an amazing day,
Kim

Sunday, July 14, 2019

Scrappy Birthday

Hello, hello! Samantha here with a super quick idea to share with you all. If you're anything like me then you hate throwing away those beautiful scraps of paper we all end up with when working on a project.
(Remember to use code BPMDtSamantha2019 to save 15% off your next order)


In my last tutorial we were left with a center portion from a cardstock panel.
For this card you'll take that center portion and adhere it to a piece of white cardstock cut to 2" x 4.25". Place dimensional foam adhesive on the back.

Using red ink stamp the Happy Birthday Phrase Rubber Stamp sentiment in the center of the card.

Attach the scrap and cardstock piece to the bottom section of the card.


Super easy, right? Head on over to the Blank Page Muse fan page and tell us how you like using your scraps.

Thanks for taking the time to read my blog post. Have an amazing day.

Until next time,
Samantha


Looking for more inspiration?
Click the links below!

The Blank Page Muse Shop

Facebook Fan Page

Instagram- Shop

Instagram- Blog

Twitter

Pinterest

Saturday, May 11, 2019

Ink Swiped Birthday Card

Make a quick birthday card by adding simple ink swiped coloring.


Charlotte swiped three shades of purple ink across her card base before stamping with a bold flower  birthday sentiment in black ink.
She then finished the card by adding black Nuvo Drops.


Looking for more Inspiration?
Click the links below!

The Blank Page Muse Shop
https://blankpagemuse.com/
FB Fan Page
https://www.facebook.com/groups/bla...
Instagram - Shop
https://www.instagram.com/blankpage...
Instagram - Blog
https://www.instagram.com/blankpage...
Twitter
https://twitter.com/BlankPageMuse
Pintrest
https://www.pinterest.com/blankpage...

Tuesday, April 23, 2019

Embossing With Dies

 Hi everyone! Charlotte here, and today I am sharing a fun birthday card
 that uses dies to emboss in two ways.

Blank Page Muse products used:
Happy Birthday Phrase
Seahorse

(Shop now and save! Use code BPMDtCharlotte2019 to save 15% off your total order!)

Other materials:
White card base
Die cutting/embossing machine
Embossing mat
Nesting circle dies
Repositionable adhesive tape
Anti-static powder tool
Embossing ink
Metallic dark blue embossing powder
White embossing powder
Heat gun
Purple ink
Stamping tool or acrylic block
Black card strip
Alcohol markers
Nuvo Drops in Sweet Lilac


Instructions:
Lay a strip of repositionable adhesive tape face up on the work surface, and press the circle dies into place on it. Keep the gap between the dies as even as possible.
Once all the dies are in position, use an anti-static powder tool to deactivate the adhesive on the still exposed areas of tape.
Gently press embossing ink onto the cutting edges of the dies. Pressing too hard will cause the ink to get on the non-cutting areas of the dies. It is likely that some ink will get on other areas, meaning the embossed lines will subsequently be less clean than they might otherwise be. This can be seen as adding some whimsy to the design.

Treat a card base with anti-static powder tool and prepare to emboss through the die cutting machine. 

Ensure the sandwich is set up with the embossing mat according to the specific machines instructions. 

Carefully position the nested circles over the top and run through the machine. This will both dry emboss - creating the impression of the lines - and also prepare for heat embossing by pushing the embossing ink onto the card base.
Sprinkle dark blue metallic embossing powder over the embossed lines, tap off the excess, and use a dry paintbrush as needed to remove any stray bits of embossing powder.
Use a heat gun to heat set the embossing powder.
Use purple ink to stamp the Seahorse stamp, then color in with a lighter purple alcohol marker. 

Carefully fussy cut the image out. Then curl of the tail and spines of the back may be a bit fiddly. 

Using a craft knife on the smaller areas can help.
White heat emboss the Happy Birthday Phrase onto a strip of black card the same width as the card base.
 Adhere it into place on the card base across the embossed circles.
Adhere the seahorse overlapping the sentiment strip.
Finally embellish the card with the addition of a few Nuvo Drops in Sweet Lilac.
I hope you enjoyed my blog post! Embossing with dies is a very fun technique to get more mileage from your dies, and it can create interesting backgrounds. I hope you'll give it a try, and I'd love to see what you make!


Looking for more Inspiration?

Click the links below!


Thursday, November 29, 2018

Happy Birthday!

Hello Again Blank Page Muse Stamps Fans!!!!
It's nearly the end of November - what a scary thought - you know what comes next month!
Bah Humbug - let's skip Xmas LOL!

Today we are focusing on Birthdays and I've created some colourful cards that you can make multiples of and add to your stash for when you need to grab a card and wish someone a happy birthday!


Supplies:
Blank Page Muse Stamp: Happy Birthday
Base cards - black used here
Piece of card for card front
Paper Towel - "mop up" from ink spraying!
Kraft Coloured Paper or Cardstock
Black Archival Ink
Stencils - use your faves!
Gesso
Scrap of muslin cloth
General tools: scissors, glue, double sided tape, spatula

Instructions:
Start by stamping the Hatter stamp and Happy Birthday Stamps onto Kraft paper using black archival ink. Fussy cut the hat stand and tear out the birthday greeting.


Next prepare your card bases and card fronts. Black cardstock used for the base cards for this project. Cut card fronts slightly smaller than the card base. If your paper towel is several layers thick peel off one layer to use - choose a nice colourful section to use!


Use a flue stick to adhere the paper towl layer to the card front. You can either trim the edges or fold them over neatly and secure with glue at the back.


Using your fav stencil, your gesso and a spatula apply gesso to the whole card front. I like using gesso for this as it allows some of the colour hue from the paper towel to "show" through the white gesso which looks nice and effective.


Once dry adhere the decorated card fronts to the card bases.


Arrange the shredded piece of muslin cloth over the back along with the birthday greeting and the fussy cut hat stand image and adhere to card front.


You now have a couple of lovely birthday cards for someone special! You can adapt any stamps for this style of card. The stamps always look great printed on card with the colour focus being the background! And with Xmas coming what a great idea to whip up a stack of cards - check out the store for all the fab festive stamps you can use!!

 Hope you have enjoyed my step by step cards!
Sharon
 Don't forget to visit us at all of these Social Media Sites for amazing inspiration:

The Blank Page Muse- https://blankpagemuse.com/

Copyright Text

Blank Page Muse 2018 Sin City Stamps 2013