
Blank Page Muse Supplies
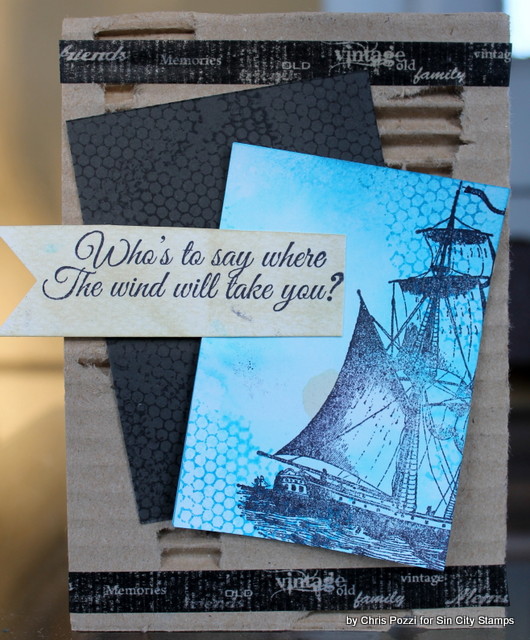
Blank Page Muse Tall Ship with Sails Art Rubber Stamp
(Shop now and save! Use code BPMDtChris2019 to save %15 off your total order!)
Other Supplies
Watercolor paper
Distress inks and markers
Archival Ink
Water Brush
Stickles
Sticker Greetings
Sticker Greetings
Create the background by stamping distress ink onto a non-stick surface and pressing watercolor paper directly into inks. Let Dry.


Stamp Blank Page Muse Tall Ship with Sails Art Rubber Stamp onto dry background with Archival Ink and attach to card base.

Stamp the Mermaid from Blank Page Muse Mermaids & Flower Fairy Art Rubber Stamp set designed by Rick St Dennis onto watercolor paper and fussy cut image. Color the image with Distress Markers and a Water Brush.


Add Stickles to the mermaids jewelry.

Attach mermaid to card and add a sticker greeting to finish!
Be Sure to follow us for more great ideas!
The Blank Page Muse- https://blankpagemuse.com/
FB Fan Page- https://www.facebook.com/
Instagram Shop- https://www.instagram.com/
Instagram Blog- https://www.instagram.com/
Twitter- https://twitter.com/


