Hi everyone, Steph Ackerman here!
Welcome to the Blank Page Muse Blog! We hope you love these amazing projects created by our fabulous Creative Stamping Team. At Blank Page Muse, we are proud to offer red rubber stamps, clear stamps and stencils. I Brake for Stamps rubber stamps are available online in the same shop. Art rubber stamps are pressed to order in the USA. We are here to help break that blank page! Visit our sister shop IBRAKEFORSTAMPS.com
Thursday, December 22, 2022
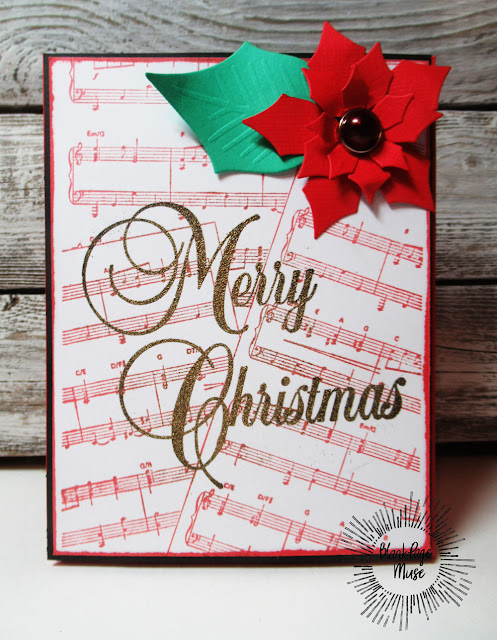
Musical Merry Christmas Card
Thursday, November 3, 2022
Peace and Hope with Winter Guardian
Hi everyone, Steph Ackerman here!
Saturday, July 3, 2021
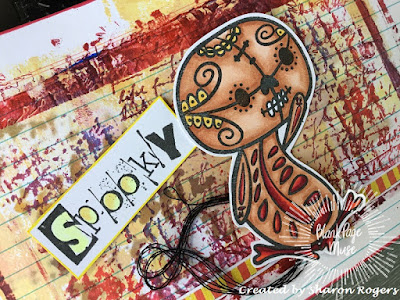
"Mori" is Feeling Spooky!
Thursday, December 24, 2020
Happy Holidays
Hi everyone, Happy Holidays to you with these cuties!
Supplies:
Stamp:
Party Gryz & Born to be a Star Art Rubber Stamps designed by Magda Polakow
Instructions:
Create a slim line card from black cardstock
Die cut blue cardstock and add to the card base
Stamp xxx 3 times and colors with Copic Markers
Fussy cut each
Thanks for stopping by.
Steph
Be sure to follow us at
The Blank Page Muse Shop https://blankpagemuse.com/ FB Fan Page https://www.facebook.com/groups/bla... Instagram - Shop https://www.instagram.com/blankpage... Instagram - Blog https://www.instagram.com/blankpage... Twitter https://twitter.com/BlankPageMuse Pintrest https://www.pinterest.com/blankpage..
Monday, November 30, 2020
Gnome Rubber Stamp- Easy Slim Line Cards
Hello, I am using a new set of stamps from Blank Page Muse today;
Shine Bright with a gnome, tree, and sentiment along with a matching start stencil.
Here are the slimline cards I created using this set.
This Gnome is so fun to color and there are so many possibilities!
For this first card:
- Use Distress Oxide inks for the background then stamp the tree and heat embossed it with green embossing powder.
- Next, place the Star Stencil at the top of the tree and and gold emboss the star.
- Stamp, color, and cut out the gnome. Used foam tape to pop him next to the tree, and stamp the sentiment near the top.
- Used the Star stencil and place it randomly around the slim card using Distress Oxide inks in 3 colors to create the stars, then stamp the sentiment at the top.
Saturday, November 28, 2020
The Happiest Season of All Tag
Hi everyone! It's me Tonya and can you believe in less than a month Christmas will be here! For my project I know the stamp I used isn't Christmas but I want to show you how I created this fun Christmas tag using the Baby Sitting Smile Vintage Portrait Photo Stamp.
Monday, March 16, 2020
Lucky is a State of Mind
Greetings Chris here and I am Still playing with this month's challenge theme, I created this Lucky tag to show off Blank Page Muse's new Mr G Whimsical Giraffe with Wings You are Blooming Marvellous Sentiment Art Rubber Stamps designed by Magda Polakow. Isn't he absolutely MARVELOUS?!?!?
Stamp BPM Mr G Whimsical Giraffe with Wings You are Blooming Marvellous Sentiment Art Rubber Stamps designed by Magda Polakow with archival ink onto tag.
Trim edges and mat tag on coordinating card stock. Add sentiment to finish.
I hope this project brings you luck and inspires your inner muse! Be sure to follow us
Saturday, December 1, 2018
Blank Page Muse Holiday Blog Hop- Winner!
* * * * * * * * * * * * * * * * * * * * * * *
(click on your favorites!)
 |
| Mannequin Dress Form |
 |
| Country Christmas |
 |
| Poinsettia |
 |
| Happy Lama |
 |
| Soulful Dolls |
 |
| Woodgrain Background |
 |
| Holly Candles |
 |
| Winter Wonderland |
 |
| Wings |
 |
| Santa on his sled |
 |
| Moon Face |
 |
| Sequins |
 |
| Santa |
 |
| Classic Christmas |
 |
| Hearty Doodles |
Saturday, December 16, 2017
Peace and Joy
Supplies
Sin City stamps: Cherub border background and Vintage wavy banner
Liquid masking fluid
watercolor paint
pencils
stencil
Wire
Cardstock
dies
modelng paste
3 d foam
waterproof stamp ink in black
1) Stamp the images using waterproof black ink on a tag
2) Cover the stamps with liquid masking fluid using an old paint brush (the masking liquid dries into a rubber like mask that will resist water color paint)
3)Mix water and blue and green water color paint on a piece of plastic or acrylic stamping block and press it onto the tag to create the background.
4) Repeat till you like the result and let dry.
5) Scrape modeling paste through a stencil and let dry.
6) Remove the masking fluid (you can rub it off but be careful not to remove the modeling paste too much.)
7) Colour the modeling paste and the stamp impressions, I used Inktense pencils.
8) Die cut a swirl and stars , use gilding wax on the swirls and paint the stars yellow.
9) Adhere the swirl to the center of the rays.
10) Wrap some wire into a circle like in the photo.
11) Attach the wire to the swirl and hang a star in the wire circle
12) Use foam tape to adhere the smaller stars and add a sentiment to the banner.
Here is some closer looks at the stars.
Thanks for visiting.
To purchase these supplies, visit www.sincitystamps.com
Sin City Stamps Blog
Follow us on Facebook.
Join the Sin City Fan Group. HERE


