Showing posts with label Tim Holtz dies. Show all posts

Friday, May 24, 2019

Old Fashioned Love

Hello BPM Fans! Mercy here with a blast from the past of sorts.  As a fan of all things vintage, this project really was something that allowed me to use Victorian inspiration (and my stash!) to create a card for Mother's Day.


Supplies:
4 Small Red Roses
Black Pigment Ink
Black Embossing Powder
Page Corner Rounder punch
Alcohol Ink Pens in green, purple, orange, & red
Tim Holtz Alterations Sizzix 3D Impresslits -Scallop
Yellow Dylusions Spray Ink
Red Glossy card stock
Velum with decorative star bursts
Purple A6 Greeting Card blank
White Cardstock postcard (4.5" X 6.5")

Instructions:
1. Stamp the corner curvy flower stamp, centered on the top of the card (right up against the edge) with pigment ink, corner pointing up.  Rotate the card 180 degrees, add a corresponding corner stamp facing the first stamped one like a mirror, placing that one centered up against the edge of the card.


 2. Stamp the "Love" stamp with the pigment ink in the center.


3. Pour black embossing powder across the card and heat emboss.


4. Spray a few spritzes of the Dylusions Yellow ink across the card. Leave some of the white cardstock showing.


5.  On either scrap paper or on other white cardstock, stamp and emboss in black embossing powers a few more "Love" stamps.  Color those in red and one in purple.  Fussy cut each letter out from the scrap ones.


6. Color the rest of the flowers/vines. Glue roses to be just above and below the "Love" stamp in a square (in my case, I ended up spray dying white roses I had to red). Using foam tape, layer the letters over the base "Love" to add more dimension.


7. Using the Tim Holtz 3d Impresslits border, emboss four strips of the glossy red card stock.  Cut those down to wrap around the postcard base. Glue them to create a border around the stamped image.


8. Mount a 5X7 cut of the velum to the card base.  Once that is mounted, use foam tape to glue down to the velum card, centered.  Use a page rounder to trim the edges.


9. Add a note or greeting to the inside of the card. 

This project is definitely themed to fit for a variety of holidays and reasons to create.  Changing out the messaging on the inside of the card is key towards versatility.


More ideas & crafts by Mercy

Want an extra 15% off on your next order? Use this code on your order! Good until June 1, 2019. BPMDtMercy2019

Monday, January 4, 2016

How to dress up your Die Cuts


Hi Chris here and today I am sharing this tag I created using some these amazing die cuts from Sin City Stamps.


Supplies needed for this project include:
Sin City Stamps Supplies
Anime Fairies 2 Stamp Set
Pattern 2 Stencil 
Around the House Die Cuts
Light Pink Sheer Ribbon
Mixed Flatback Embellishments (little flower)

Other Supplies: Pacon Mixed  Media Paper, Tim Holtz Sizzix #8 Tag, Tim Holtz Distress Ink- Victorian Velvet, Core'dinations Tim Holtz Card Stock, Liquid Pearls, Gesso, Gold Sharpie, Pebbles-accent greeting, ColourArte-Twinkling H2Os - Black Cherry, Beacon Fabric Tac, Toule Netting


After die cutting my tag from the mixed media paper, I gently inked my tag using my Pattern 2 Stencil .


I then stamped over the stencil using my Anime Fairies 2 Stamp Set. I then matted my tag on cardstock and set aside while I dressed up my die cut.


When I started, my background of the die cut was blue like this 


I added Gesso to the blue die cut to make the chair white.  I then added a color wash using ColourArte-Twinkling H2Os - Black Cherry.  After drying,  I  added the overlay.  


To dress up the die cut even more I added some "rivets" on the arm of my chair using a gold sharpie.  I then added some "buttons" to the chair back using liquid pearls.  


I then added my chair to my tag and topped my tag off with a double bow (a smaller bow placed on top of the larger netting bow), and added a Mixed Flatback Embellishments (little flower) on top of the double bow. I added a sticker quick greeting and viola!  all done. 

Monday, April 20, 2015

Happy Birthday Banner Card


Hi Chris here today, and I want to share this cool card I made.  I love that it looks so sweet, but didn't take hours to make.  I used mostly white papers and embellishments and inked them all to match -- which is a great way to stretch you supplies! Plus I got to play with lots of ink and markers *grin* Sometimes you need a card that whips up in short amount of time, but still lets you play!!!

For this project I used
Sin City Stamps Alice 2
My Minds Eye patterned paper
Tim Holtz Distress Inks- Broken China, Spiced Marmalade, Scattered Straw, Tea Dye, Abandoned Coral
Tim Holtz Distress Markers - Old Paper, Tattered Rose, Tumbled Glass, WIld Honey, Barn DOor, Squeezed Lemonade, Evergreen Bough, Peacock Feathers
Ranger Archival Ink - Sepia
Pre-Made Banner - The Paper Studio
Sizzix Die #660220
Elmer Spray Adhesive
Colorbox Design Adhesives
Doodlebug Glitter
Card Base- The Paper Studio

I started by inking my background paper with my distress tool first with Broken China, and then with the Spice Marmalade.  I let the colors overlap slightly.  I left the center mostly free of ink to provide a bright area behind my stamped image.


I then die cut the "scroll" lattice using the Sizzix die and white paper, but decided the white didn't match the vintage-y style I was trying for so I gently inked the paper with distress ink.

I added the die cut to the lower right hand corner of my background piece, and then trimmed off any excess.  To adhere this delicate die cut I did break out the spray adhesive. 

I used the pre-made white banner and inked each banner to coordinate with my card.

I then attached the banner to the upper left hand corner of my card.

For the greeting I used Color Box Design Adhesives, which have adhesives on both sides of your design, making it super easy to add glitter.


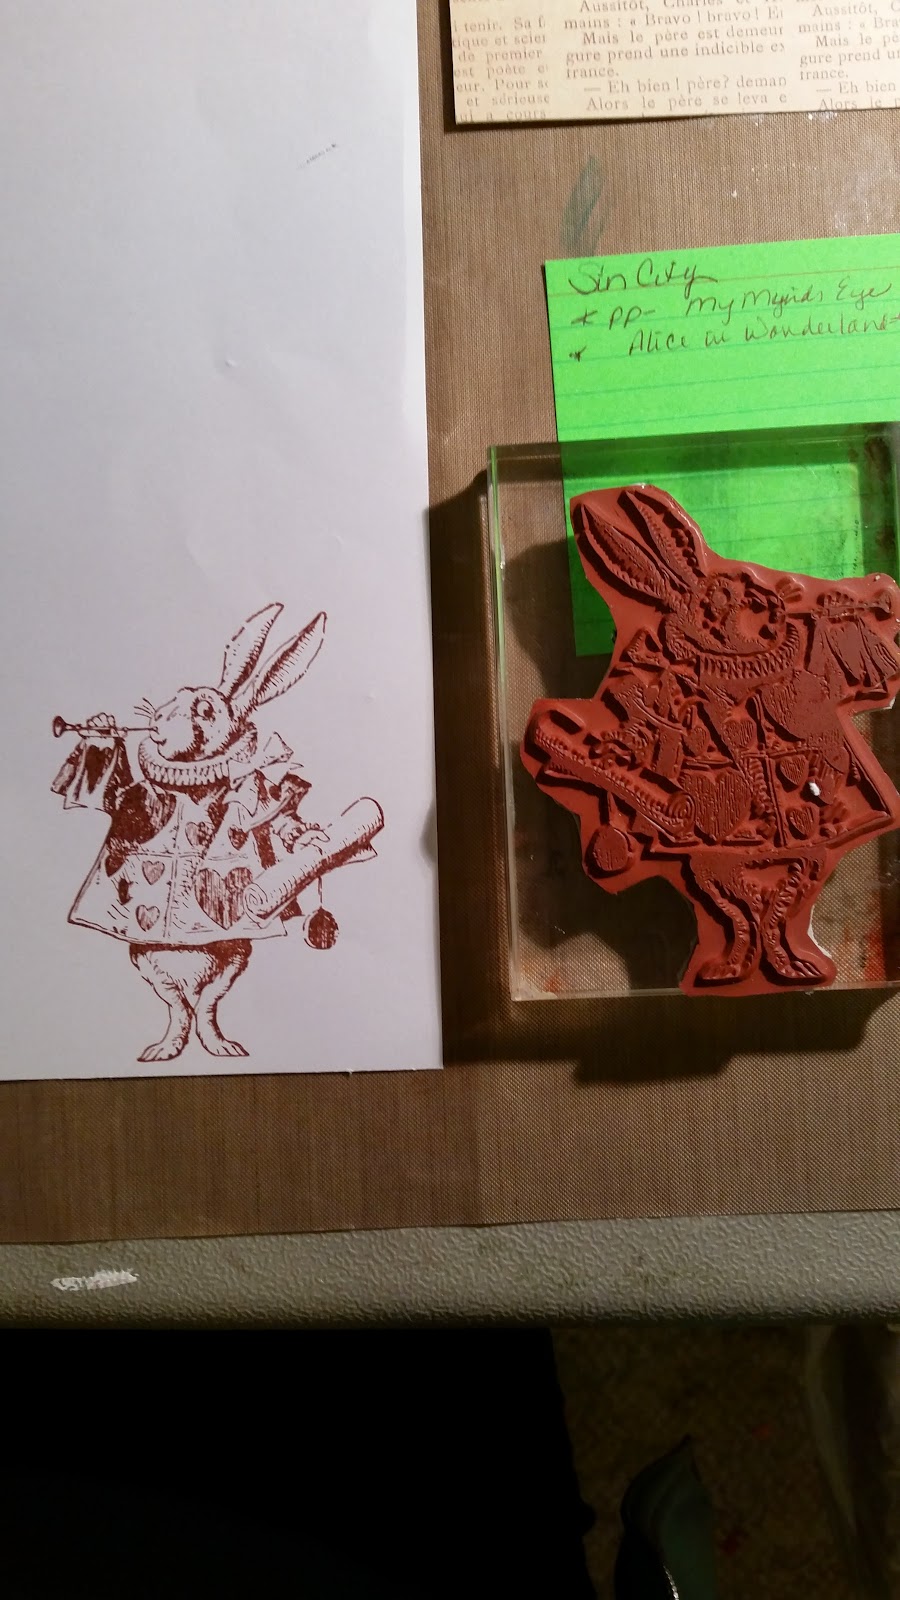
I then used these wonderful Alice Stamps from Sin City Stamps and have been dying to play with them.

I stamped the rabbit on to white paper using the Sepia Archival Ink.

 I then used my Tim Holtz Distress Markers to color him in.  Since I was going for a more vintage-y look I tried to stick with more muted colors.  To tone down the brighter colors  I added a bit of Old Paper accents to the areas colored with Squeezed Lemonade and some Evergreen Bough to the Peacock Feather areas. I then Fussy cut out my image. ( The image below show how bright the Squeezed Lemonade and the Peacock Feathers were before I toned them down.)


I added the stamped image to my card to finish off my card.

 I hope you decide to try some of these techniques.


Thursday, July 3, 2014

Steampunk Style Masculine Card With A Spark

Happy Independence Day!  I hope everyone is enjoying a wonderful holiday with family and friends.     I am so excited to get to play with my new Sin City Stamps collections.  I love making cards, and my father's birthday is coming up.  I thought the Classic Spark stamp plate images would work beautifully for a masculine card, as well as my "go to" Art Journaling with Terri Sproul stamp sets.

Supplies used:


Sin City Stamps:  Classic Spark; Art Journaling with Terri Sproul

Ink Pads:  VersaFine Smokey Grey; StazOn Black; VersaMark; Salty Ocean, Brushed Corduroy Distress

Silver embossing powder

Pan Pastels:  Red Iron Oxide, Bronze

Soft palette brush tips

Dylusions Spray Inks:  Squeezed Orange, Calypso Teal, White Linen

Tim Holtz Courtyard die

Tim Holtz mirror sheet

Sakura 3-D Crystal Lacquer

Charcoal Pencil & Blending Stump


Directions:


Cut newsprint card stock to 6-1/2" x 9", fold in half to make 4-1/2" x 6-1/2" card.


Stamp harlequin background with Slate Grey over pre-printed invoice paper.

Use a Softt sponge to add Pan Pastels to entire stamped sheet.  Interesting how the stamped harlequins picked up the color  of the Pan Pastels to become  a new color.
Heavily distress edges and ink with Brushed Corduroy ink.
Adhere this to center of card front.
Stamp screw along pre-printed tape measure paper with grey ink, heat emboss with silver embossing powder.
Adhere stamped tape measure strip along bottom edge.
Die cut a piece of chipboard with Courtyard die.

Stamp random images from the Art Journaling with Terri Sproul stamp set with black StazOn ink.  Looks like a bit of a mess, but wait.
Add colors to the chipboard using Dylusions Squeezed Orange and Calypso Teal spray inks.  Spray lightly with White Linen, and again with the orange and teal.
Remove die cut from chipboard piece and adhere to card front.  I later added some of the center pieces back into the die cut, as well as some of the center pieces I cut from another piece of the mirror card.
Stamp "A Real Classic" onto a Tim Holtz ticket stub, ink edges with Brushed Corduroy, adhere to card front at an angle. 
Stamp winged spark plug onto a piece of cork paper.  Stamp just the spark plug a second time.  
Color image with Squeezed Orange on a sponge.  Then apply Salty Ocean around the edges of the wings.  Fussy cut around the image and adhere to card front.


Cut out only the spark plug, adhere with pop dots.


Stamp light bulb onto scrap of print paper, cut out and adhere to card front beneath spark plug.  Add glossy dimension with 3D Crystal Lacquer.


Use charcoal pencil and blending stump to give a shadow effect to all of the elements.  See finished card photo above.


I hope you enjoyed my masculine card project today, and will try making one of your own with these techniques.  Oh,  by the way, have you seen all the new stamps and chipboard available at Sin City Stamps. They are awesome.  I even have a new Gothic Shrine chipboard piece that will be super fun to alter and decorate.  Stay tuned for more on that, because I am going to have a giveaway for one.


As always, thanks for stopping by, and be sure to check out the rest of the team's projects this month.


Have a happy and safe holiday.


Barbara


Copyright Text

Blank Page Muse 2018 Sin City Stamps 2013