Showing posts with label polymer clay. Show all posts

Sunday, October 27, 2019

Hug Your Cat Day with Blank Page Muse

Hello!  Susie on the blog today with more Weird & Wonderful!  Today we are celebrating Hug Your Cat Day!

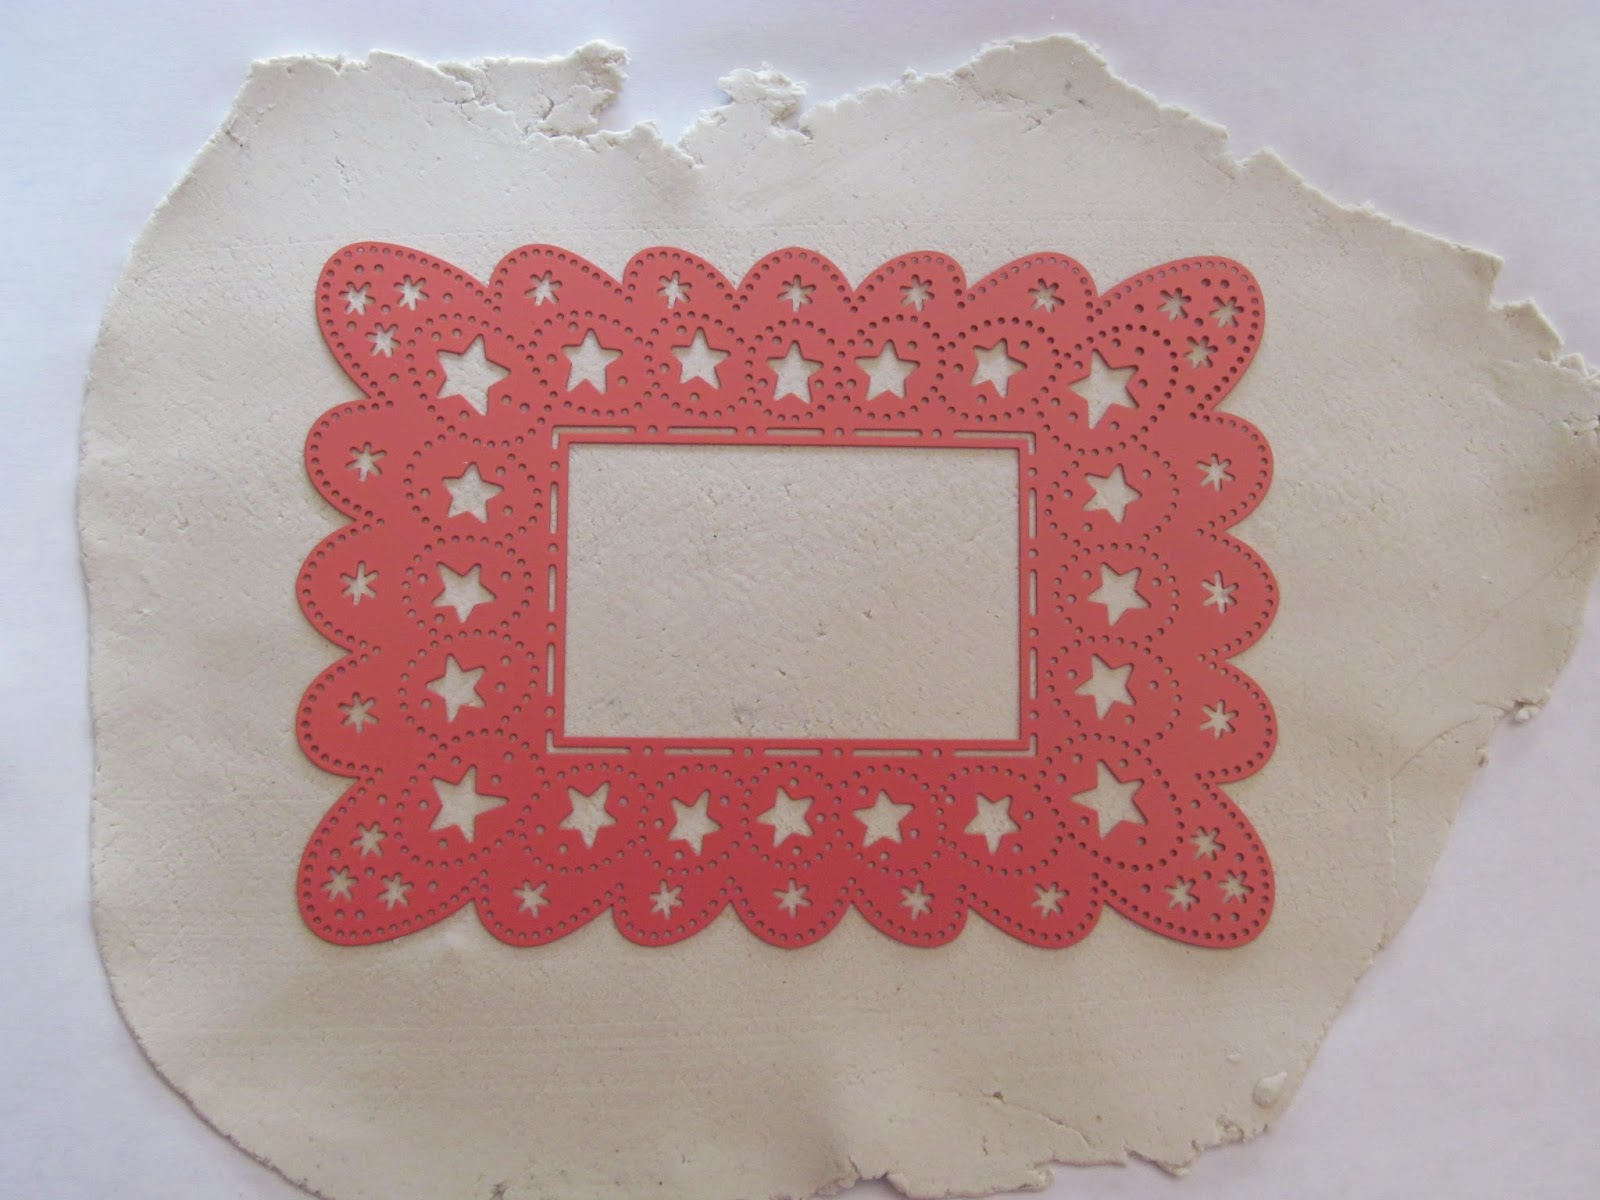
As a brand new, first time cat owner I do not need a special day to hug my cat because as all cat owners know, I hug him whenever he wants and/or allows me to hug him!  Seeing Hug Your Cat Day on the Fun Holiday Calendar (June 4th), however, did remind me of a super cute stamp I bought from Blank Page Muse and a technique I wanted to try with it using Sculpey clay.  It is called the Sutton Slice and before I began, I conditioned my clay with a pasta machine.

Time to play...


Supplies:
The Femmes Woman Snuggling a Cat Art Rubber Stamp , unmounted
Pasta machine for conditioning clay
Sculpey clay
Blade for slicing clay
Acrylic stamping block, large
Oven
Beacon Adhesives Fabri-Tac
Adjustable cat collar

Directions:

  • Choose colors and condition clay.


  • Stamp image on paper to use as reference.  Color if desired.
  • Start with one color and embed a small amount of the conditioned clay into the stamp, pressing firmly with your fingers.


  • Use a blade to shave off any clay that sticks up above the rubber.  It is important for this technique to not have any clay left on the surface of the stamp.


  • If clay becomes embedded in the wrong areas, use a piece of scrap clay to remove it from the stamp.


  • Continue adding small amounts of clay until the area has been filled and sliced.
  • Repeat with additional colors of clay.


  • As you work, small amounts of clay may stick to the blade and be removed during the slicing process. (Clean blade frequently to remove bits of clay sticking to it.) Patch these recesses until all areas are filled.
  • When you are finished, re-shave the entire surface of the rubber stamp to remove any visible clay from the surface of the stamp.
  • Roll out a piece of conditioned clay that is large enough to cover the filled area.
  • Place the sheet down over the stamp and tamp down very firmly with your fingers.


  • Flip the stamp and clay over onto an acrylic stamp block.
  • Bend the stamp backwards, nearly folding it in half, and slowly roll it off  of the clay.  (This is much easier if you use an unmounted stamp.) As you do this, watch carefully to see if any of the clay is stuck in the stamp. If so, simply roll the stamp back onto the clay and press the area firmly with your fingers to fuse the clay to the background. Repeat this as often as needed to be sure the clay from the recessed areas of the stamp is adhered to the background clay.
  • Continue until the entire image has been released.


  • Lightly pat down the raised clay to ensure it is adhered to the background clay.
  • Trim design as desired.
  • Carefully slide the blade under the clay to release it from the acrylic block.
  • Bake according to the manufacturer's directions.


  • Attach buckle to the back of the finished piece.


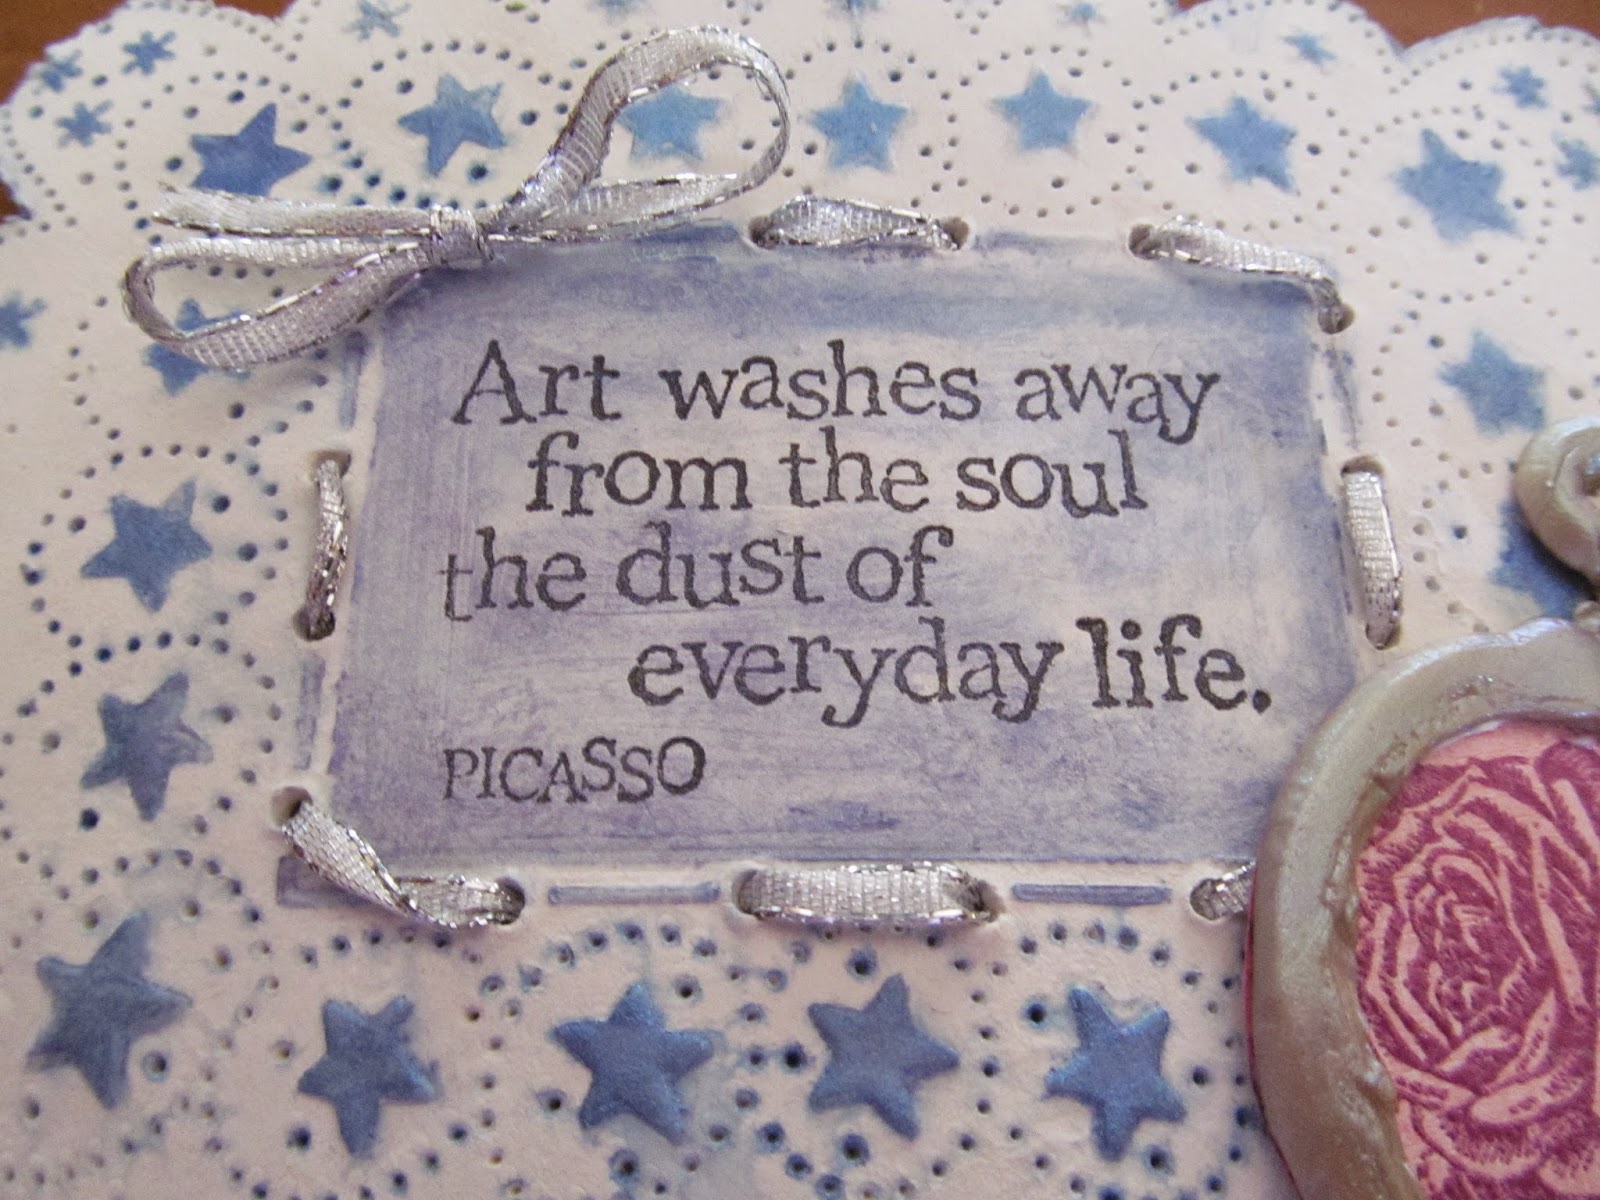
I added the buckle (it is actually an adjustable cat collar I picked up at the dollar store *giggle*) to the back of this piece so that I could use it on a little mini-album I created to hold all the cute kitty pictures I find myself taking! 


This technique takes a little practice and some patience.  I think this is my third attempt at a Sutton Slice and I absolutely love the way it turned out!  If you would like to try it I suggest you start with a small and simple design first.  I covered the basics today, but there are a bunch of great videos out there with great tips.

This technique makes me look at my stamp collection in a completely different way and I am already looking for my next Sutton Slice project!

Thanks for stopping by and I hope you find some time to play today!
Susie

Looking for more inspiration?
Click the links below!

Wednesday, July 16, 2014

"Time Flies" Again by Linda Hess

Hard to believe that 6 months have passed since I began my time with the Sin City Stamps design team, but here I am posting my last project! 

With "time" in mind I look back at time with my husband, a man who has been in my life off and on since high school.  Fell flat on my face for him at 16 and always had him in my heart (even as we were apart and dating others)...sometimes the heart truly knows what is right.  26 yrs of marriage (won't tell you how many since I was 16!) and 3 beautiful children we are almost (but not quite) to the empty nest stage.  WOAH...how the heck did that happen when we haven't changed a bit?

Mixed media has become my "medium" of choice.  Off to the studio I go to collect a bit of this and a bit of that...

Materials:
http://www.sincitystamps.com  : Couples Clock UM rubber stamp, Time Flies UM rubber stamp, New Year's Chipboard Book
ComposiMold  (http://composimold.com/)
polymer clay (I use Premo!Sculpey for most of my claying needs)
ColorBox Archival Dye ink (http://www.clearsnap.com)
small canvas (6"x6" shown)
acrylic paint
sponge or brush
The Ultimate Glue (www.crafterspick.com)


First, I cut away the wording from the "Time Flies" and set it aside. The couples clock and the flying clock were taped with double stick tape into a metal tray.  ComposiMold was melted according to directions and poured over the stamps. 
I let it set from about 15-20 minutes to make sure it was completely gelled before removing the mold from the tray...PERFECT! 

Clay was pressed firmly into the molds. Once removed, edges were cleaned up (trimmed) before inking. 

 
 .
I tried adding cane slices to the mold for extra detail on the wings.  As you can see, they didn't really work when pressed into the mold, so I cut them off.  After inking the watch image I added cane slices to make it fly
ColorBox Archival ink was patted on top of the polymer clay clock and watch to bring out the design.  Patience is a virtue when inking as it never inks completely on the first try.  I patted the ink pad back and forth, up and down, and then back and forth again before getting it completely covered. 

 
 Once inked place clay pieces into the oven to bake (275 degrees for 15-20 minutes).

While those bake, paint the canvas, small chipboard plaque, and 2 chipboard gears in color of choice (I used Deco Art's Dazzling Metallics in Splendid Gold). 

Once plaque is dry, ink "Time Flies" saying and stamp. [note: I found it was easier to perfectly place the saying if the plaque was placed on top of the stamp rather than the other way around]  Gently press edges onto stamp pad to "age" and highlight.
 

Now to put everything together.  Pictures are cut to fit.  I used a corner paper punch to curve the edges. 

 
Pictures are layered with chipboard & polymer clay components. 
Hmmmm, something is missing....off to the cabinets I run.....
Pearl Dots are the perfect final touch to this super simple canvas! 
 
 
Everything can now be glued in place.  Once dry, it will be ready to hang.  Now to find a space on my wall :-)
 

Wednesday, May 7, 2014

Handmade Birthday Card by Linda Hess

A friend of mine recently said that the only thing she would like for her birthday was a mailbox full of handmade cards, so that she would receive something besides bills.  Be careful what you wish for (hehe)...off to the studio I go!

First thing I pulled out was Creative PaperClay.  Those who know me realize that this is a "clay" outside my normal realm, but the time I spent on the Creative Paperclay design team was an eye opening experience into what can be done with this product.  For this project, it should be the perfect base for my card.  I conditioned a bit by squeezing it in my hands and then rolled it flat in my pasta machine.  (NOTE:  for those of you  who do not own a pasta machine for clay or might even use your pasta machine for...well, pasta...you may roll the clay flat with a rolling pin or acrylic rod.  An even thickness can be obtained by rolling between 2 pieces of cardboard or a stack of playing cards...you get the idea)

Once rolled flat I placed the clay on a sheet of paper to work on the design.  In our box of goodies for this month we received a metal template (Ornare Vellum) from Ecstacy Crafts (www.ecstacycrafts.com).  I placed it on top of the sheet of clay and then rolled over it with an acrylic roller to press the clay into the openings. 
Once I had the clay impressed with the template design I used an exacto knife to cut around the edges.
I opened the tiny pinholes in the template using a turkey lacer (NOTE: a beading pin or sewing needle will also work).  This will take some time...you may have to give your hand a stretch every so often. 

I brushed over the other openings using Pearl Ex powders in multiple colors.

Then carefully, slowly I peeled the PaperClay away from the template.  At first it came away easily, but then I ran into a glitch.  I started peeling too quickly and of course the clay ripped :-(  They are pretty scraps, but not exactly what I want to send to a friend. 
Back to the drawing board.

This time I powdered the surface with cornstarch before repeating the above steps.  With luck the cornstarch acts as a release and the design peels easily away from the template.

Woohoo!  The template came up nice and clean.  Only "drawback" (if there is one) is that you need to hold the template in place as you go around cutting and detailing.  Otherwise the design will move.

After cutting and piercing, I brushed the surface lightly with rubbing alcohol before applying Pearl Ex powders.  During the process of powdering (with cornstarch) and then detailing, etc. Creative PaperClay will begin to dry out.  The addition of rubbing alcohol re-wets the surface and helps the Pearl Ex to adhere. 

Now to unveil....WHEW! 
Obviously I used a bit too much rubbing alcohol in the one corner, but it can be covered with embellishments :-)  Brush around the edges with rubbing alcohol to clean up any roughness.

The center is stamped with one of my favorite sayings using ColorBox archival ink in "Wicked Black".  Holes are opened slightly around center image using a turkey lacer.

From my stash of paper I found a soft pink.  It was stamped using the "Romantic Background" unmounted stamp from Sin City Stamps and VersaMark ink, sprinkled with Recollections "plum" embossing powder, and heat to set.  Then I cut out the image.


Roses are placed in corners to cover "boo-boos".  For now they are only placed.  Once the Creative Paperclay dries they will be glued in place using "The Ultimate" glue from Crafter's Pick (my favorite glue).

Being an impatient sort when it comes to projects, I placed the card in the oven and baked at 275 degrees for about 15-20 minutes.  This speeds the drying process, so that I can continue rather than wait (the little kid in me rearing her ugly head!).  (PLEASE NOTE:  Creative PaperClay will draw up and curl slightly if "forced" to dry.  A weight of some sort might be desired on top of the image will keep it flattened).

Now to finish the embellishments.  Looking at the rubber stamped images I realized that something else was needed....maybe a little dimension.  I pulled out the mold that I made a few projects ago ("New Wave "Batik" canvas: Pt 2 [http://sincity-stamps.blogspot.com/2014/04/new-wave-batik-canvas-part-2.html]) and a little bit of polymer clay.  I pressed clay into the mold, shaved off the excess, and unmolded the watch. 
Using an exacto knife I cut out the center of the fob as well as the center of the watch (opening it up).  I brushed it with Pearl ex powder and baked it at 275 degrees for 15 minutes.  Once cooled, the "Romantic Background" image is cut to fit inside and glued in.  Gives the illusion of painted picture in a frame, don't you think??  (Please use your imagination here)
 
A silver ribbon highlights the rubber stamped center.  (Note: I used a wired ribbon to ease the threading process). 


The watch is glued into place (over the boo-boo).  A tiny charm designates this card as "hand made" just as my friend requested :-)

Now to create an envelope....but that will be a demo for another day.  See you soon!


Wednesday, April 16, 2014

Angel of Hope by Linda Hess


As a Christmas baby (December 23) my mother began collecting angels for me from the day I was born.  As I grew, I began adding to the collection on my own until it has found its way into pretty much every room in our home.  With that in mind, you can imagine that they have emerged in my various crafting projects. 

As I looked through the Sin City Stamps shop I found the Wings Stencil (#scs114).  I had to have it! A design quickly began to take shape in my head.  As soon as the package arrived I began experimenting with a variety of papers and embossing powder colors until I finally hit on the combo that met my vision.
Place stencil on paper and use VersaMark to stamp over the opening.  Make sure to cover image completely.  The VersaMark product has a longer drying time than regular ink pads, so it allows extra time for adding embossing powder after the stencil is removed.  (Note: Since I was placing this into a frame with an existing mat I made sure to leave enough space around the wing image to fill the space)
Sprinkle stamped image liberally with embossing powder (shown: Recollections Vintage Blue).  Pour excess powder back into the jar.  Check image and clean up any excess powder clinging to the paper BEFORE heating!
Heat until set.  Be sure to move the heat gun back & forth while setting powder otherwise the paper can scorch!  (Note: if this is your first time to work with embossing powder be sure to start heating on a low setting)

With the base for my project complete it is (of course) time to pull out the polymer clay.  I have a wonderful doll mold from Penni Jo Couch's Best Flexible Molds (www.bestflexiblemolds.com) [Caboshapes II- Divas].  The large doll/Diva shape fits perfectly with the wings.  I put a few slices of patterned cane together, smoothing the seams (contact me directly for more info on polymer clay canes).  I then positioned the sheet of patterned clay in the mold and added additional clay to fill out the bodice and face.  Once filled excess clay is removed
and the angel body is unmolded.
With the wings being so glittery, the angel really needed a little bling.  I grabbed a few heat set crystals from Creative Crystal (www.creativecrystal.com) and pressed them into place.  I also created some arms for her. 
Perfect!   Into the oven the body goes.  275 degrees for about 20 minutes.  While I wait, I think the plain white mat may need a bit of help.  Time for embellishment!

I pulled out the Flourish Mask (#scm112) from Sin City.  Holding it in place, I held my breath as I made the 1st mark with the ink.  WHEW...Exactly what I was hoping for.
I quickly stamped the flourish spirals around the mat.  Hmmmm, it needs something else....

This month we are working with EC Ecstasy Crafts (www.ecstasycrafts.com).  I looked in my package and found gorgeous outline stickers (Starform Outline Stickers #1225).  What a great touch for the edges and to highlight the center. 
 
Better, but something is still missing.  Off to my studio stash I go....
 
Metal scrapbooking words added the right touch.
 
A final detail is to amp up the plain, black frame.  I ran the VersaMark pad along each inner edge and sprinkled on some embossing powder (one edge at a time).  Excess powder was brushed away and then heat set. 
The metal words & clay figure were glued in place with The Ultimate glue (my favorite for everything!).  Double stick tape attached the paper & mat together.  Then it was placed into the frame.  Now to find somewhere to hang it!!
 
I hope you have enjoyed this process as much as I have enjoyed creating it.  See you next time!


Copyright Text

Blank Page Muse 2018 Sin City Stamps 2013