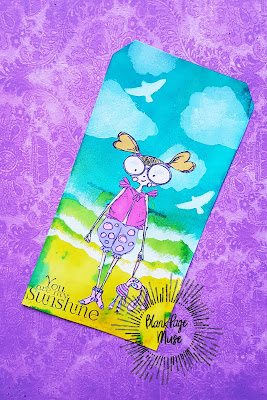
Good Morning Sunshine
Good day, fellow crafters. It's Tamara once again, with a new post showcasing my latest card created using Blank Page Muse products! Today, I’m Today, I’m excited to walk you through the step-by-step process of crafting this vibrant sunrise card, featuring a stunning sun design and a warm gradient background that’s perfect for a "Good Morning" greeting. Let’s dive into the techniques and materials that brought this piece to life!
- Sun with Long Rays and Face stamp from Blank Page Muse
- White cardstock panel - 4.25" x 5.5"
- Black cardstock panel - 4.25" x 5.5"
- White A2 Card base
- Ink (I chose a red and yellow for an early morning look, and Black for the image)
- Ink-Blending brush(s)
- Sticky mat (optional but very useful to hold work in place without using tape)
- Scissors
- Liquid glue
- Paper Trimmer
- Sentiment of choice (I chose of course "Good Morning")
- Edged die(s) of choice (I chose a roped edge die to frame the mat and the image)
- Die-cut machine
- Watermark ink
- White embossing powder
- Anti-static powder
- Heat tool
- Stamping tool (I use a Misti)
Process:
- Using the white cardstock and the stamping tool, secure the cardstock in place and then orient the stamp in the center and secure the stamp in place.
- Ink the stamp with the black ink and stamp the image. Repeat if required to produce a clean image transfer.
- Remove the stamped cardstock from the stamping tool and secure it to a sticky mat or a worksurface.
- Using an ink blending brush, add the yellow ink on the bottom of the image first, as it is easier to blend darker over lighter than lighter into darker colors.
- Using an ink blending brush, add the red ink on the top of the image, blending the edges into the yellow. Use a light pressure on the brush where they meet to prevent getting an obvious line between colors. Allow to dry.
- Using the die-cutting machine and border dies of choice, cut the mat and the focal image down to size. The die used for the black mat leaves a 1/8" gap on all sides. The focal image is a 4" x 4" square.
- Using the black mat and the stamping tool, secure the cardstock in place, and then orient the sentiment stamp in the bottom center and secure the stamp in place.
- Apply anti-static powder to the intended stamping area.
- Use the watermark ink to ink the sentiment stamp. Stamp the sentiment onto the mat with even pressure. Repeat if necessary for a clean transfer.
- Use the white embossing powder and a heat tool to emboss the sentiment.
- Adhere the image panel to the black mat with liquid glue.
- Adhere the composite to the white A2 card base with liquid glue.
The stamps I used can be found by following the links in the materials list, or you can find them with a quick search on www.blankpagemuse.com. Visit our social media sites for more stamping fun!
.png)


