Mica Spray - You Make Me Happy
Good day, fellow crafters. It's Tamara once again, with a new post where I am going to be showcasing my latest card created using I Brake for Stamps and Blank Page Muse products!
Incorporating mica sprays with embossed images can create stunning effects. They are a versatile tool that adds a beautiful shimmer and depth to your designs. When applied to embossed images, the sprays highlight the raised areas and enhance the texture, giving your cards a luxurious and dynamic appearance. The result is a captivating blend of color and shine that makes each card unique and eye-catching.

To create this project, you will need the following:
Blank Page Muse You Make Me Happy Hummingbird Clouds Flower
I Brake for Stamps Coral Sunflower (Large)
Cardstock - white
Mica Mists - Olive, Violet, Dark Blue, Peach and Fuchsia
Plastic tarp or splatter box (a MUST)
Stamping platform
Watermark ink
White Embossing powder
Heat Tool
Scissors
Liquid glue
Paper trimmer
A2 card base – white (4.25” x 5.5”)
To craft your card, you will need to begin with the focal image and sentiment.
Place white cardstock into the stamping platform
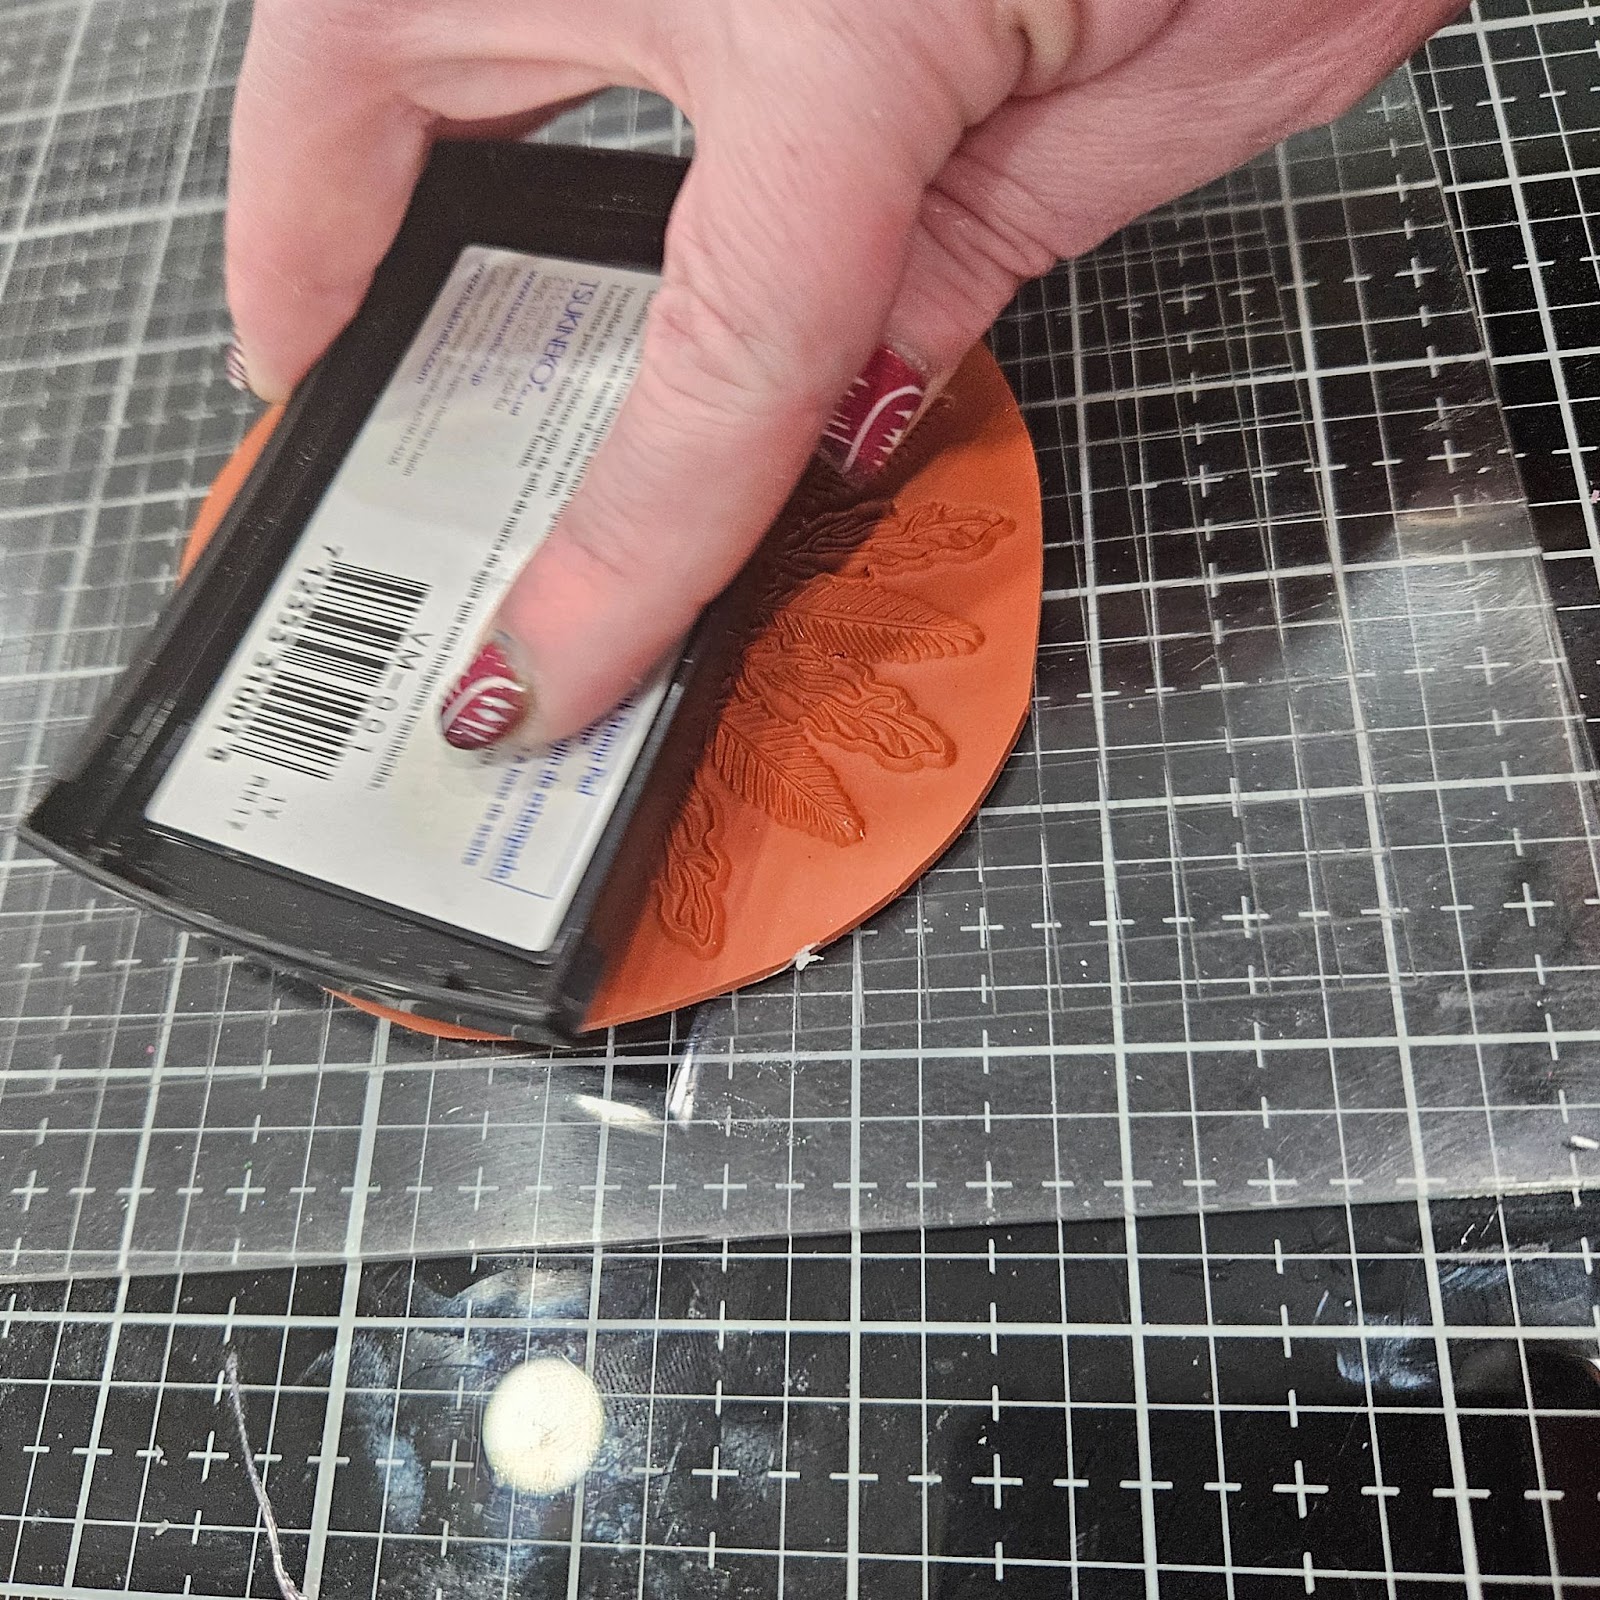
Align the stamp, and ink with watermark ink, and stamp the focal image. Repeat to ensure complete coverage
Align the stamp, and ink with watermark ink, and stamp the sentiment. Repeat to ensure complete coverage.
Remove the background panel from the stamping platform
Cover the panel liberally with white embossing powder
Heat set the powder with a heat tool

- Place the embossed panel on top of a paper towel, a tarp, or in a splatter box
- Using various colors of mica sprays, lightly mist over the design.
- Apply enough spray to cover completely. The embossing powder acts as a resist so don’t worry about the image
- Allow to dry completely
- Wipe excess from the embossed area which will brighten the image.

The last stage in the creation process is the assembly. Trim your panel down to 4” x 5.25, which allows for a reveal, and then with liquid glue adhere it to the white A2 card base. With that, I called the card complete.
The stamps I used can be found by following the links in the materials list or you can find them with a quick search on www.blankpagemuse.com. Visit our social media sites for more stamping fun!
I Brake For Stamps -https://ibrakeforstamps.com/
The Blank Page Muse- https://blankpagemuse.com/
FB Fan Page- https://www.facebook.com/groups/blankpagemuse/
Instagram Shop- https://www.instagram.com/blankpagemuse/
Instagram Blog- https://www.instagram.com/blankpagemuseblog/
Twitter- https://twitter.com/BlankPageMuse
Pinterest- https://www.pinterest.com/blankpagemuse/boards/
No comments:
Post a Comment
Thank you for visiting and leaving your kind words!
~~~
A note regarding the GDPR and EU ePrivacy Regulation:
Those leaving a comment on any post on this blog do so on the understanding that their name and personal details will be visible to anyone who visits this blog.
People entering a piece of artwork into any competition or giveaway promoted here, they do so in the knowledge that their name and blog link are visible to all who visit this blog and in so doing have published their own personal details and consented to our use of that personal information should it be selected as a winner.
Thank you.