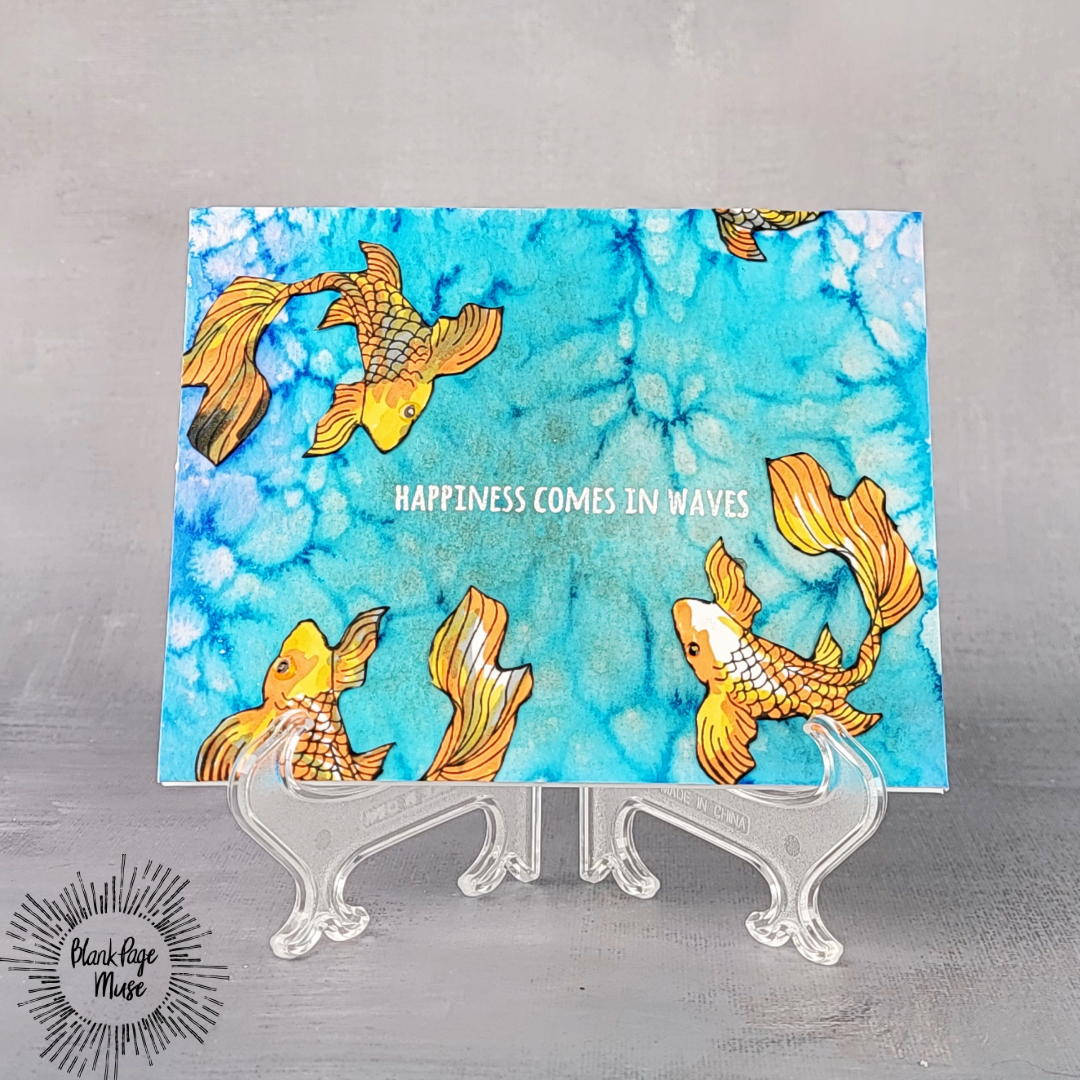
Happiness Comes in Waves
Good day, fellow crafters. It's Tamara once again, with a new post where I will be showcasing my latest card created using I Brake for Stamps and Blank Page Muse products!
Happiness comes in waves, like the gentle ripples on a serene pond. Just as goldfish glide effortlessly through the water, moments of joy appear, drift, and return when least expected. Life's ups and downs flow naturally, but beauty can be found in the shimmer of simple things even in the quiet times. May your heart always find peace in knowing that happiness will swim back to you, just as surely as the fish return to the surface with each passing wave.
To create this project, you will need the following:
Focal Image
Place the white cardstock into the stamp positioner and secure it in place.
Place and adhere the Koi Fish stamp into place
Ink the stamp with Black alcohol marker-safe ink
Stamp the image, repeating if required.
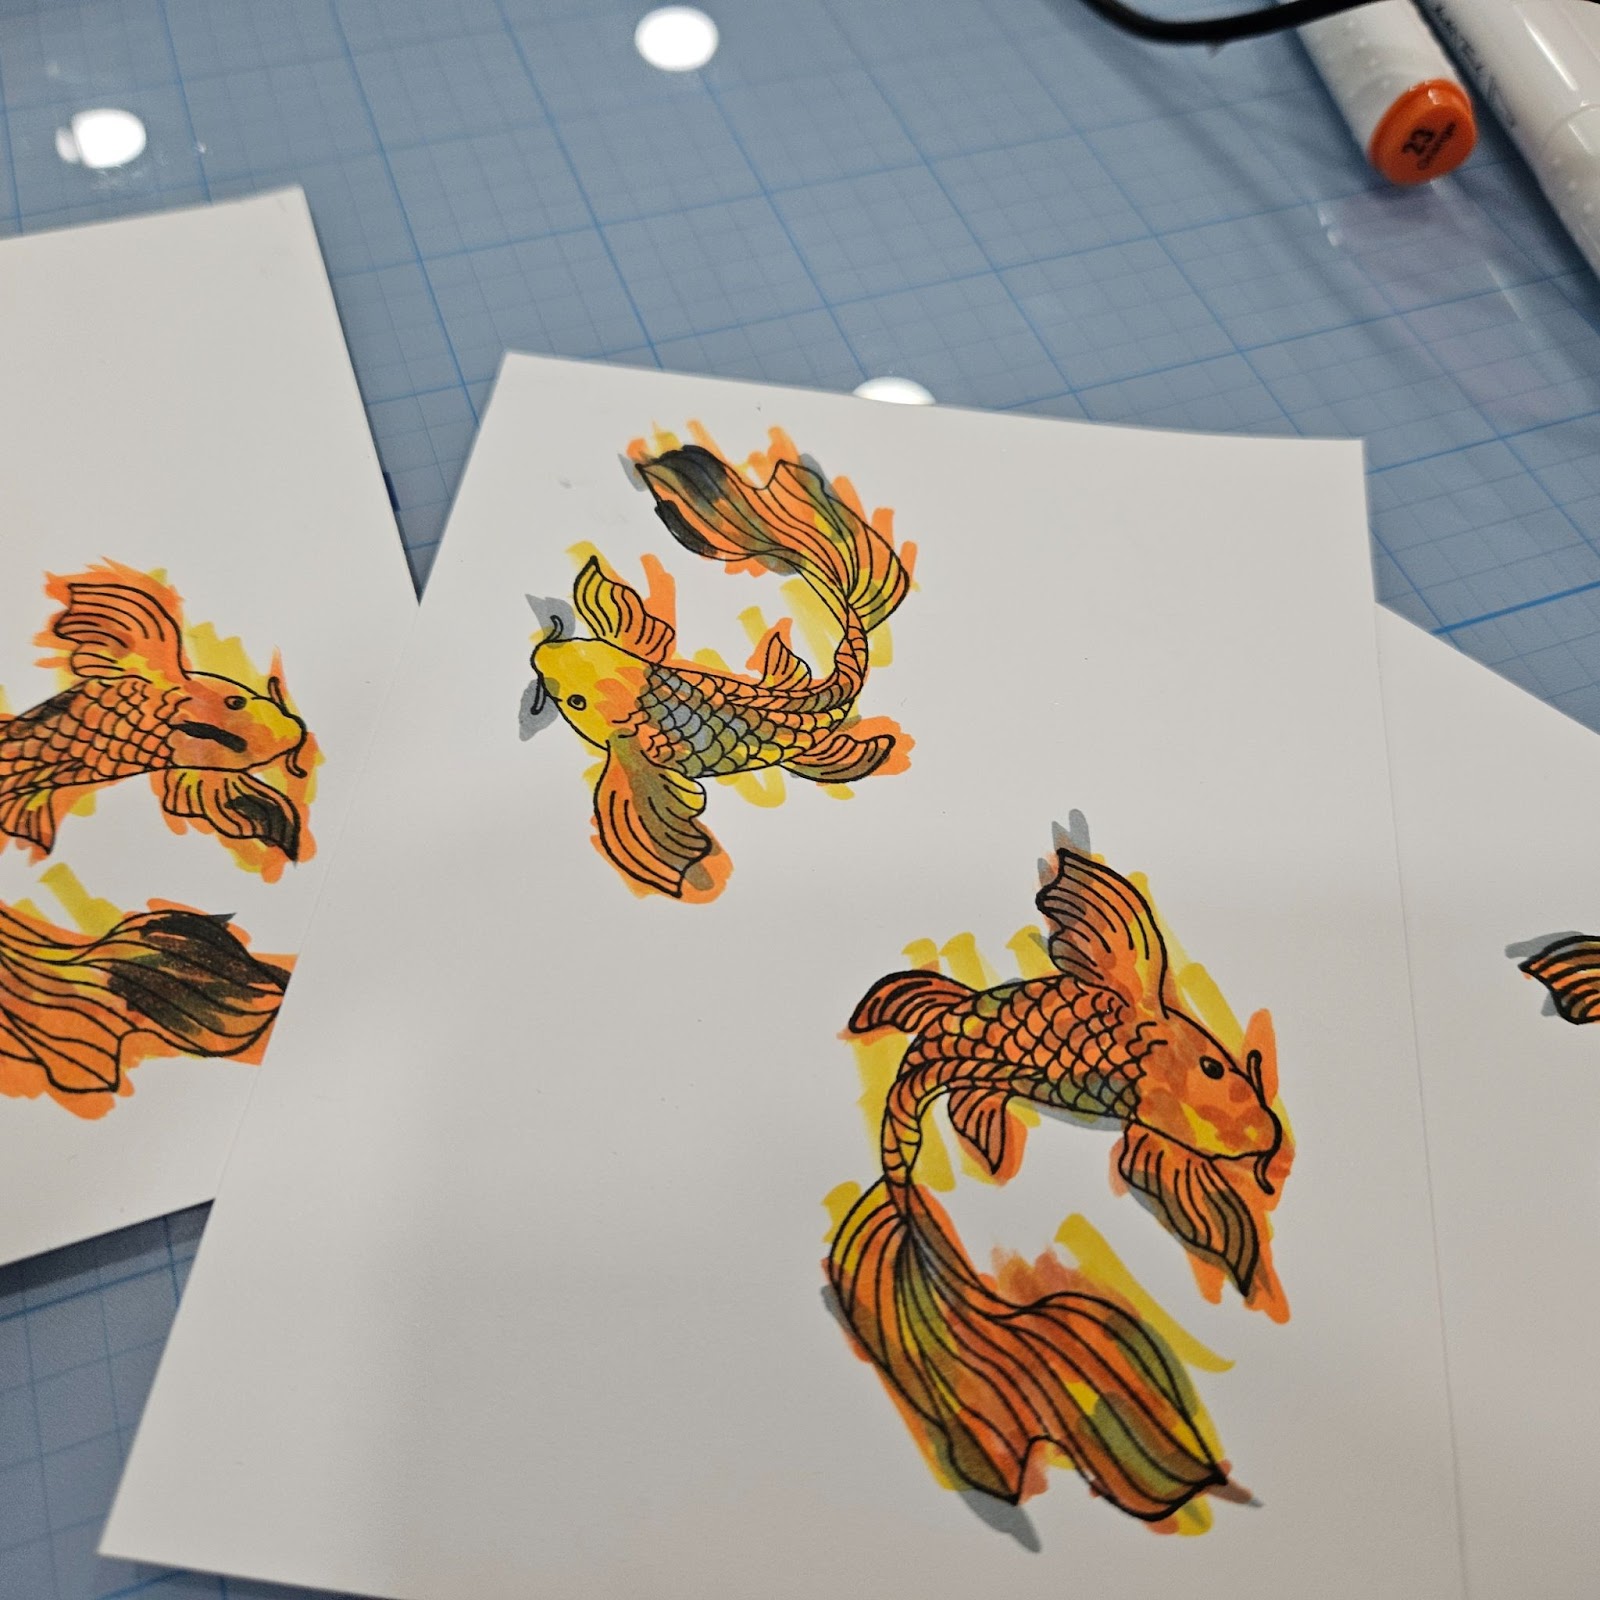
Use alcohol markers to color the focal image to the desired hues.
Use scissors to fussy cut the image, remove the barbels if a goldfish is the desired outcome, and set aside.
Background Panel
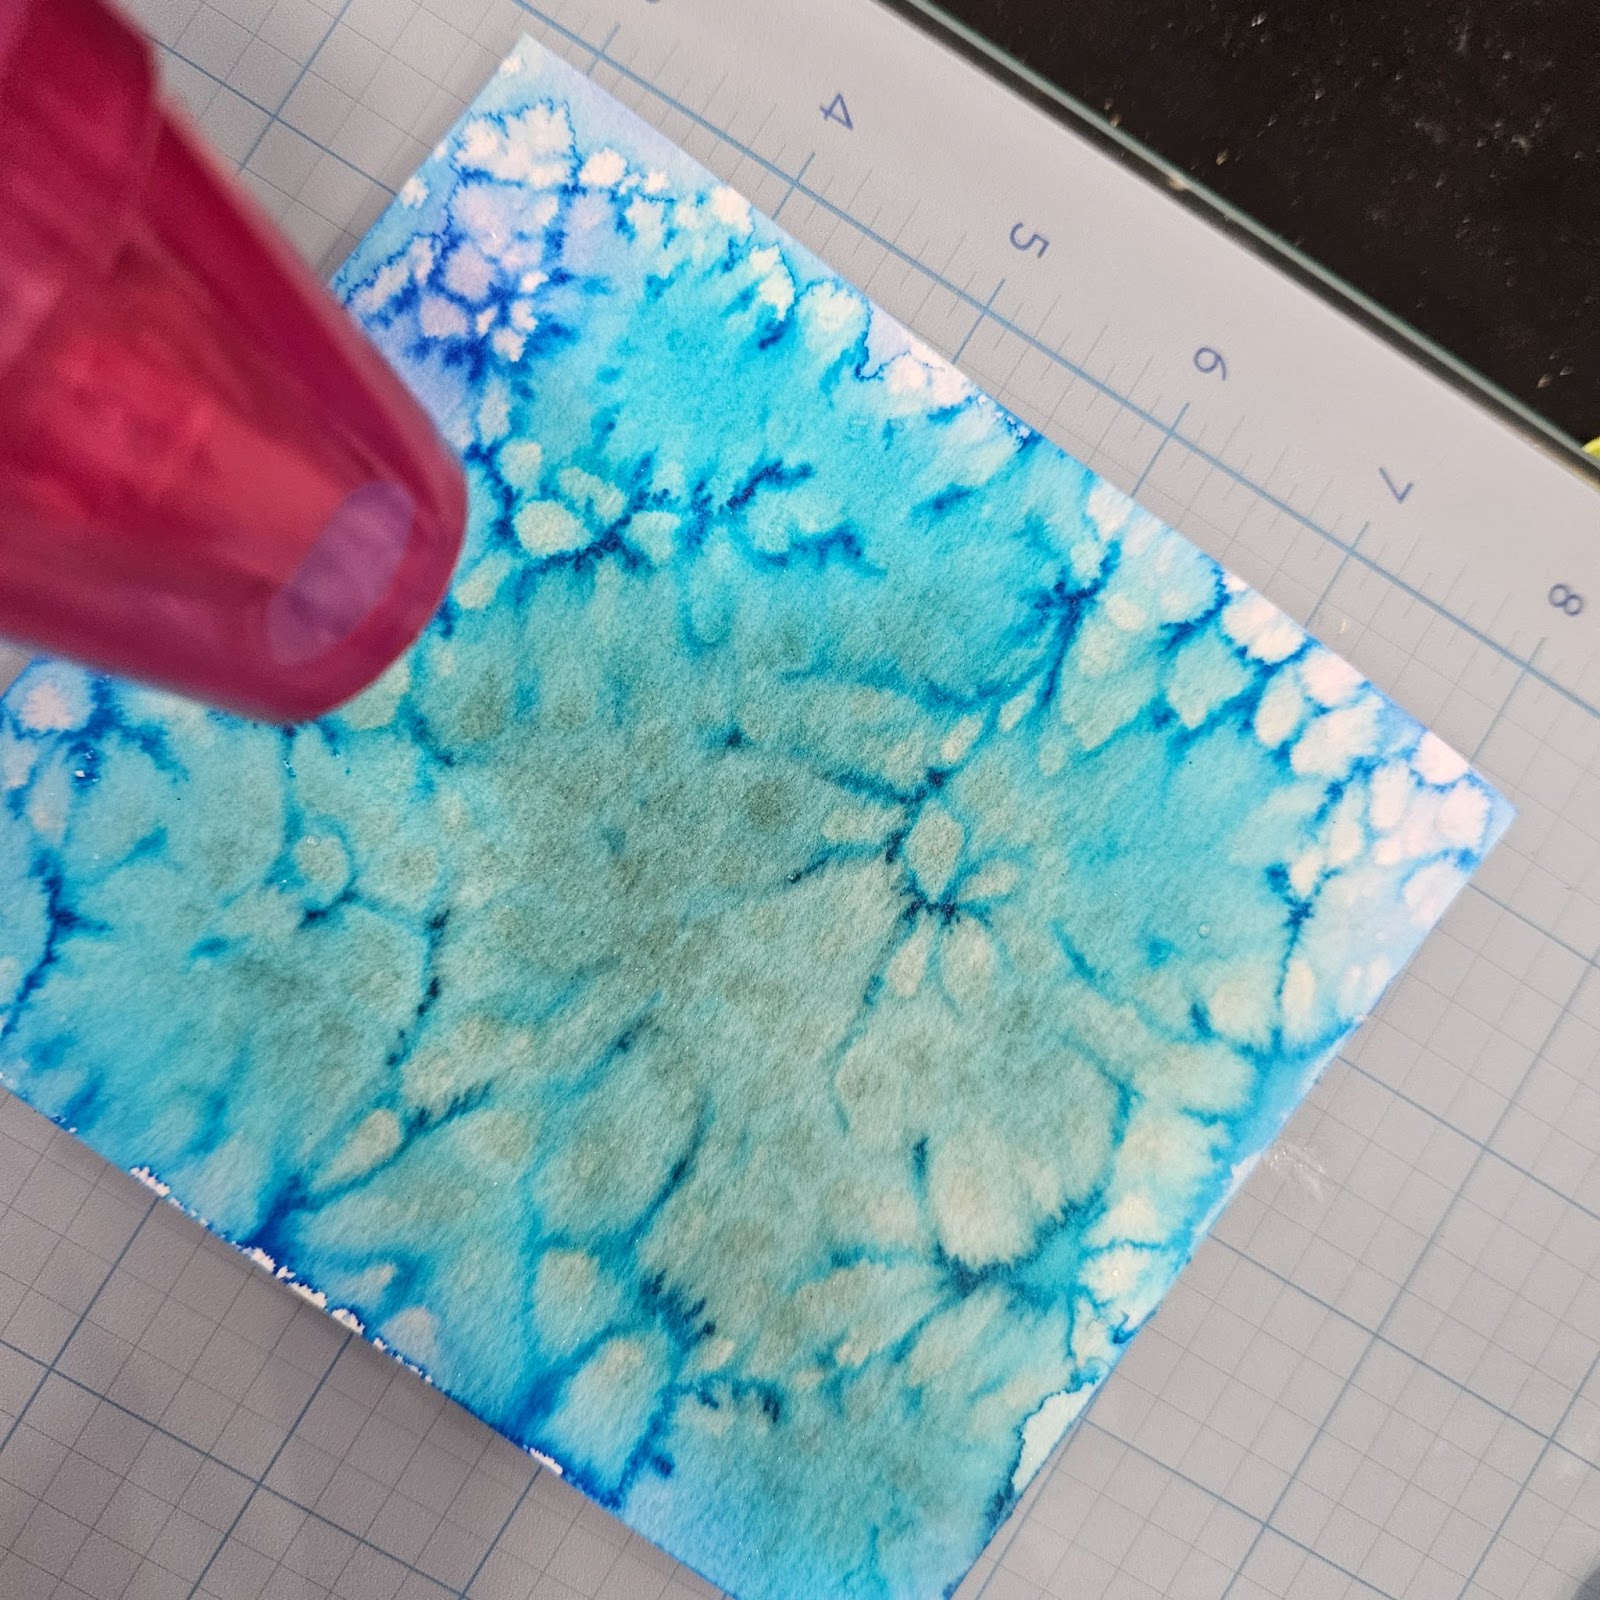
Apply a coating of water to the watercolor paper to moisten it.
Using the blue water brush markers, apply a generous amount to the surface of the moistened watercolor paper
Use the misting bottle to mist the watercolor paper which will allow the colors to blend
Shake a generous amount of Sea Salt across the entire surface of the background panel and then allow it to sit undisturbed until dry. A heat tool can be used to expedite the process if desired.
Once dry, brush off all of the salt from the background panel, it will have adsorbed watercolor pigment and should be disposed of properly, DO NOT use it for cooking
Using the paper trimmer, cut the background panel to 4.5” x 5.5”
Assembly
Using liquid glue adhere the background panel onto the White A2 card base.
Position the focal image(s) on the background panel to find the desired final appearance.
Adhere the focal images with liquid glue.
If focal images overlap the edge, as in the example, use scissors to trim them to size.
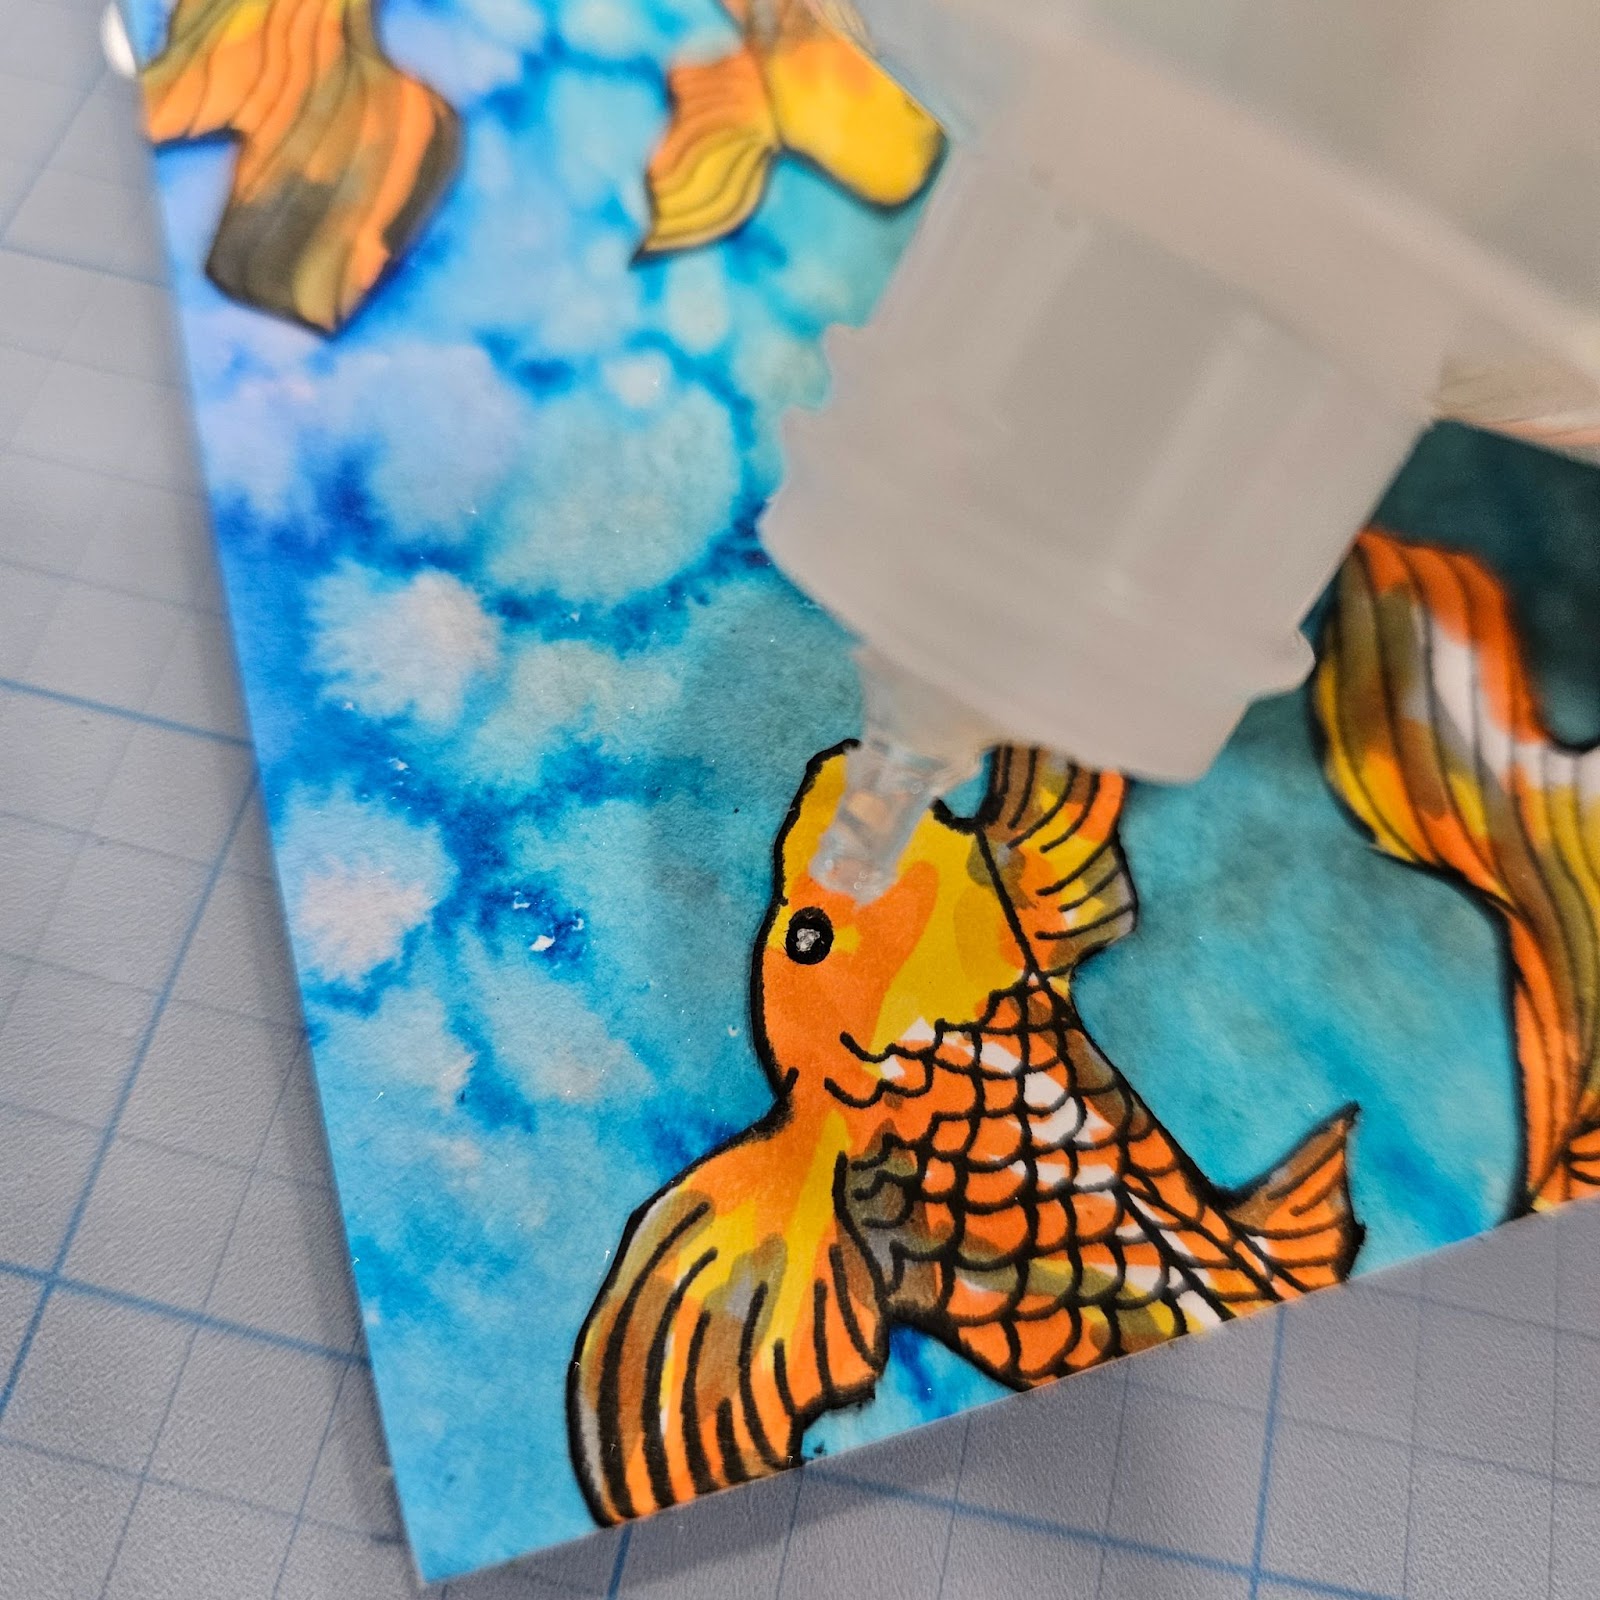
Optional: Use clear liquid resin over the eyes of the Koi for a more life-like appearance and added interest and dimension
Sentiment - Optional
Using a sentiment and method of choice, add the sentiment to the background panel. The example card used a watermark ink and a white embossing powder to achieve its appearance.
The stamps I used can be found by following the links in the materials list or you can find them with a quick search on www.blankpagemuse.com. Visit our social media sites for more stamping fun!
I Brake For Stamps -https://ibrakeforstamps.com/
The Blank Page Muse- https://blankpagemuse.com/
FB Fan Page- https://www.facebook.com/groups/blankpagemuse/
Instagram Shop- https://www.instagram.com/blankpagemuse/
Instagram Blog- https://www.instagram.com/blankpagemuseblog/
Twitter- https://twitter.com/BlankPageMuse
Pinterest- https://www.pinterest.com/blankpagemuse/boards/
.png)