Hello Friends,
I am building a card using bits and pieces from multiple stamp sets.
I have so many stamps that I have wanted to use, I decided to take stamps from different sets to create one card.
Thus I am able to justify to myself why I needed to buy so many different sets.
(I know I am not the only one to feel this way. Right?)
I think this shows how versatile Sin City Stamps really are!
Supplies:
Sin City Stamp Set - Mountain & Beaches
Water Stamp
Bird Stamp
Sand Stamp
Beach Grass Stamp
Sentiment Stamp
Brick Stencil
Texture Paste
Window Die
Foam Tape
Window Sheet
Ink: shades of blue, green and brown
Step 1: Using texture paste, create a brick wall effect on card layer. This will give texture to the card.
Tip* It helps to use re-positional tape to hold paper in place.
Step 2: Stamp water and sand on the layer that should be cut to be slightly larger then the window panes of the die.
Step 3: Cut the window sheet to be slightly larger then the window pane openings. Die cut the window out.
Step 4: Ink blend over the water and sand to fully color the card layer.
Step 5: Stamp beach grass in green on the sandy beach creating realism.
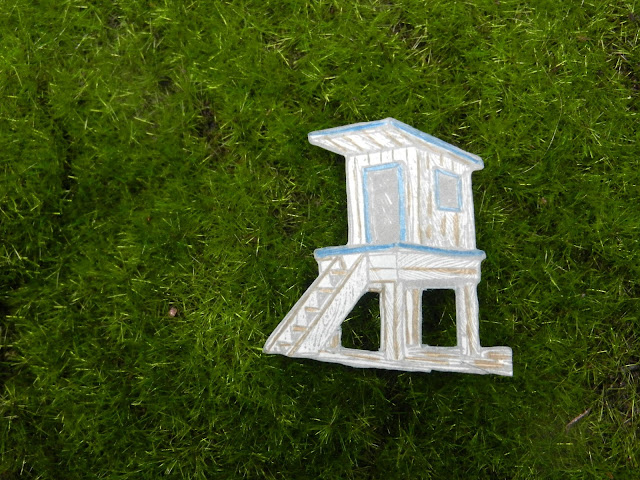
Step 6: Stamp the Sin City Beach Life Guard Stand and cut out. (I used my electronic cutting machine for this step.)
Step 7: I cut out the inside of the stand legs using a cutting blade and ruler.
Step 8: Color in the stamped image to make it look weathered.
Step 9: Stamp a sea bird in black so that it will be seen through the window pane. Tape the window sheet to the back of the window die cut. Using foam tape affix beach stand to layer.
Step 10: Using a double layer of foam tape to affix the window die over the card layer creating depth and realism to the scene.
Step 11: Stamp sentiment to a co-coordinating banner and use foam tape to secure under window.
I think this mix and match approach to creating cards has opened many doors to new and exciting possibilities. (Can't wait to buy more Sin City Stamps!)
Share your mix and match projects with us using #SinCityStamps and here on their Fan Page.
X


